Does your garage door opener hum and whir like it’s working correctly, but nothing happens? Most people will tell you that this is a classic sign of a blown gear inside the motor, but that’s not always true.
Thankfully, the fix is probably the same in both cases, and I’ve outlined my issue and step by step fix below. Good luck!
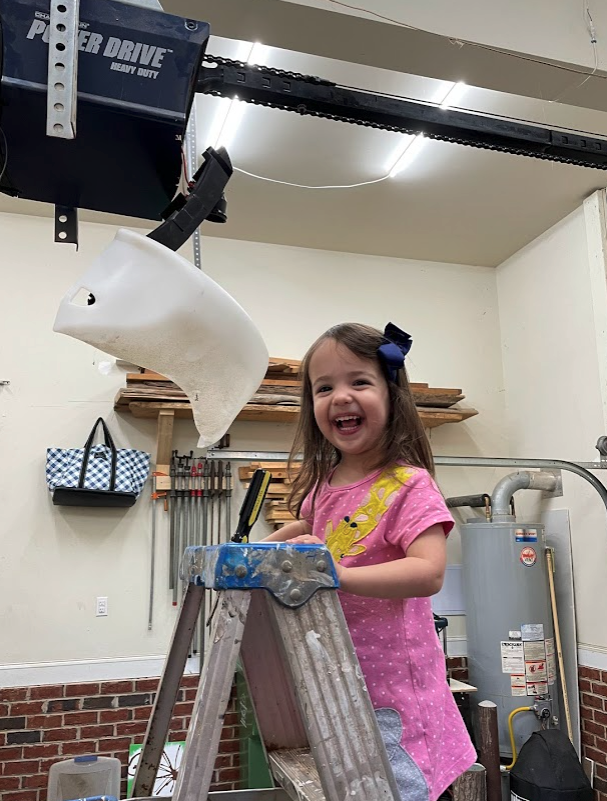
Last Saturday, I was breaking child labor laws working in the yard with my kids, spreading pine straw and blowing leaves. Fall in the South is my favorite time of year, but woof, it’s a ton of work. Our house is surrounded by trees on all sides, and they drop leaves from late September through late November. I had the garage door open, and my kids were spreading straw and playing with some oak offcuts I had near the garage door.
Unbeknownst to me, they put some of the blocks right at the base of the door – underneath the safety sensors, but directly in the path of the closing door. When I started blowing leaves a bit later, I closed the garage door in order to keep leaves out of the garage. The door didn’t shut all the way and I realized there were blocks in the way. Long story short, as I tried to dislodge the blocks and open the door, the automatic opener must have continued trying to shut the door, as it did not detect anything in the way.
Once I cleared the blocks and tried to close the door again, I was surprised to hear the humming of the motor, but without any movement. After a *lot* of inspection and trying the basic fixes, I found out that chain sprocket that holds the garage door chain to the opener had broken cleanly off of the gear shaft. Hence, the whirring motor and no chain movement.
A lot of the how-to videos and guides I found on this exact problem dealt with blown out gears or worm drives. While I do see how this could be a common issue, that was not my issue, and I suspect others are the same. I decided to do the repair myself, and if I can do it you can too. Below is a step by step guide for how I replaced the gear and sprocket assembly.
This guide will be helpful for any issue that requires you to replace this entire assembly, and you can buy the kit on Amazon. Here’s a link to the one that fit my model, but there are plenty available, and they’re all fairly similar and can be had for under $20.
Oh, before you begin, I highly recommend you grab some Orange Goop if you don’t already have some. You’ll get extra greasy doing this repair and this stuff is clutch. Smells great, too.
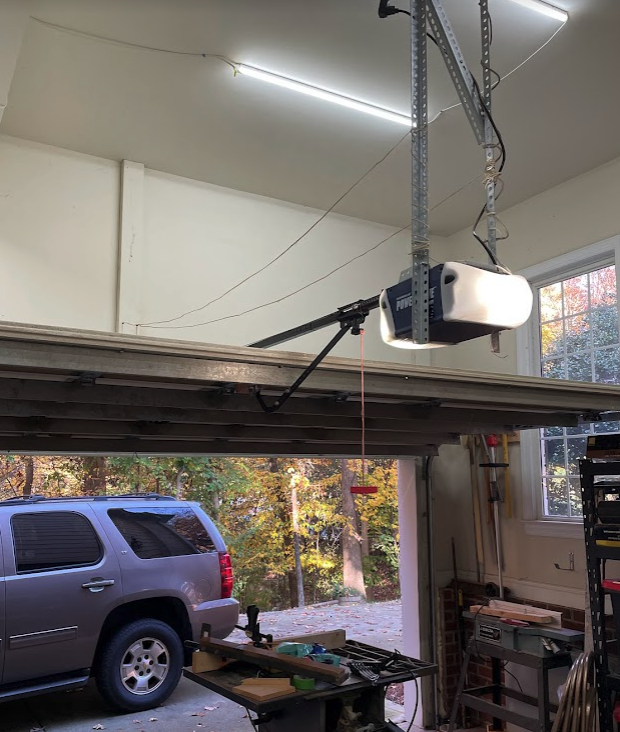
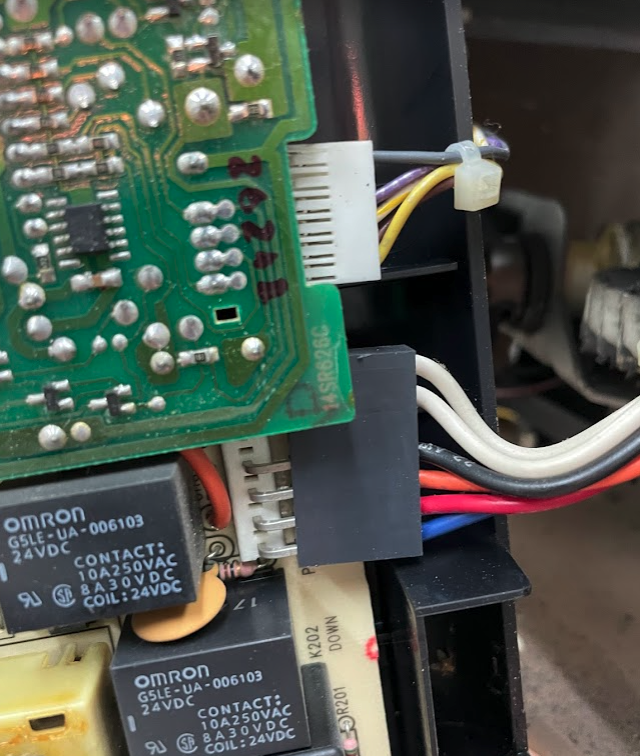
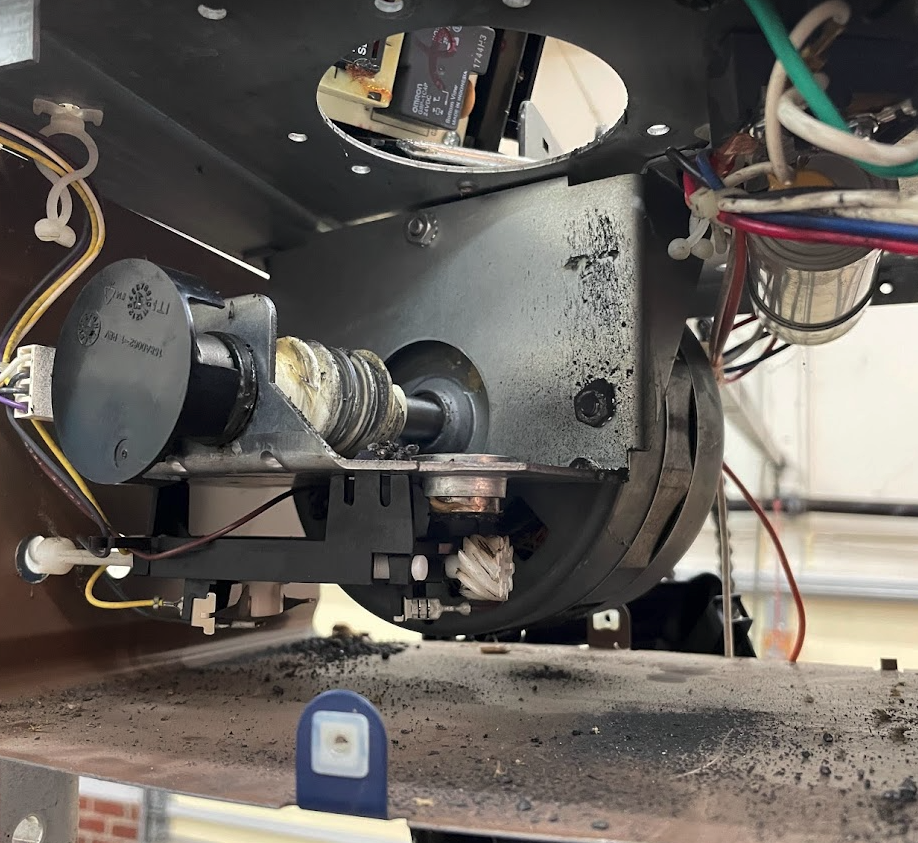
First step, disconnect the power to your opener. I speak from experience…live wires and tired dads are not a good combination. After you disconnect the power, you’ll want to remove the panels on the front and back of the opener, via 3 screws on each side. I would recommend removing the light bulbs as well, and disconnecting at least a few of the wires so you can move the panel out of the way to get to the repair area. Here’s the reference picture I took for my wiring:
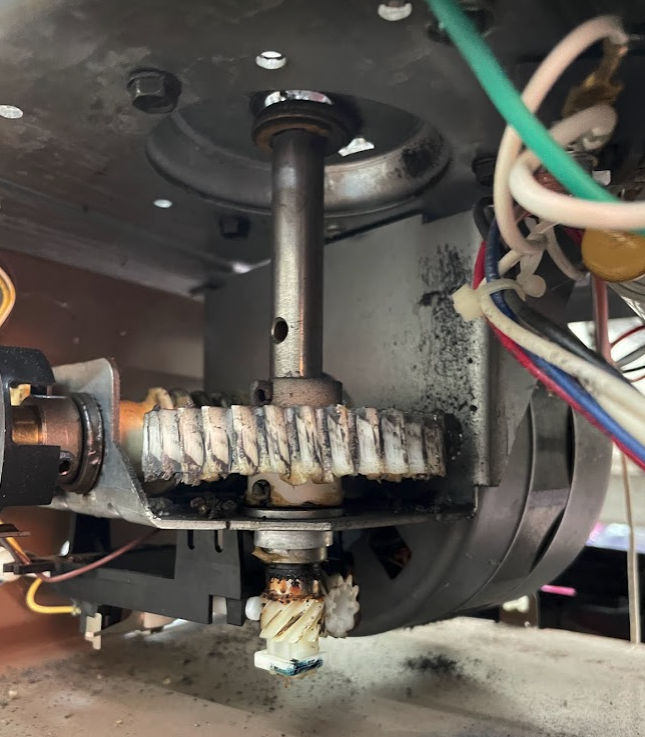
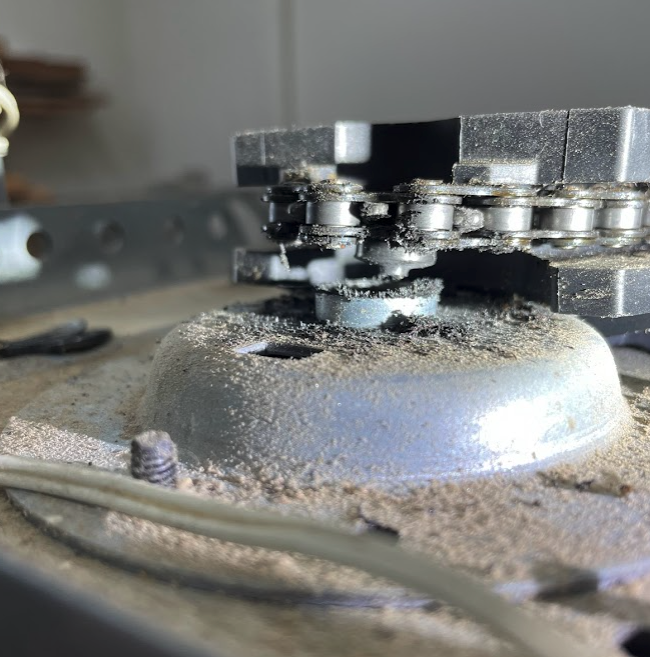
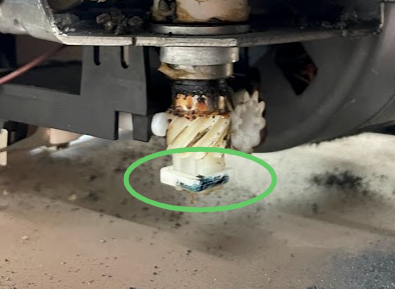
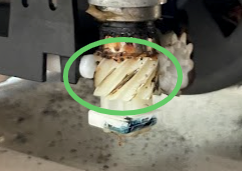
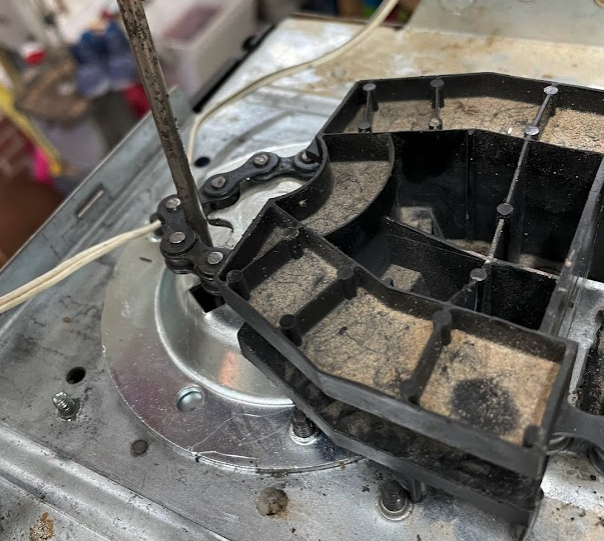
With that out of the way, you can diagnose what’s going on with your situation. Here’s what happened to mine – the sprocket that is located on the top of the opener is attached to the gear shaft that runs down into the motor. For some reason, the metal is fairly narrow towards the sprocket, and mine snapped clean off. So when the garage door opener was running, the motor below was spinning as it should, but nothing is able to rotate the sprocket, and in turn the chain just sits there. You can (probably) make out the broken pieces here:
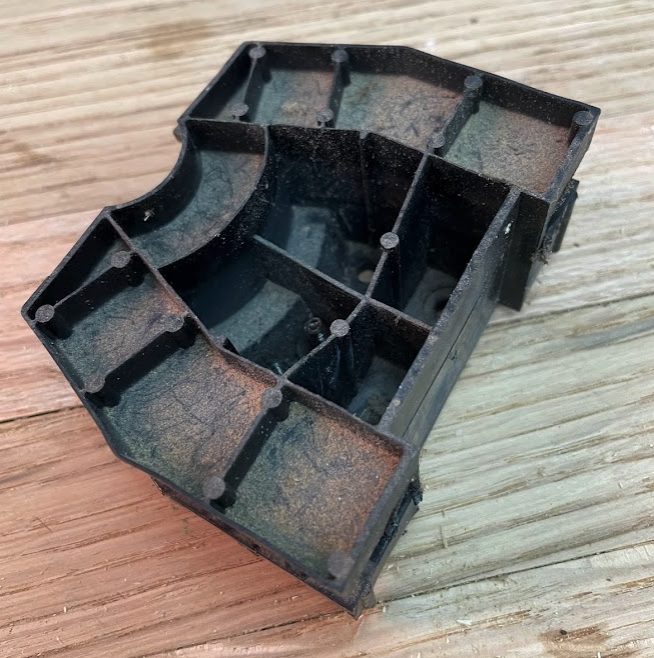
This sprocket is housed inside this plastic casing, which carries the garage door chain. You’ll need to remove the chain and this housing from the opener in order to access the motor for repair. The housing has 2 screws that go into the garage door opener – just remove those, unthread the chain and pop it off.
To remove the chain, follow the chain around the track to find where it transitions to metal cabling. There will be a screw and nut you can loosen up all the way to give yourself enough slack to pull the chain off the sprocket.
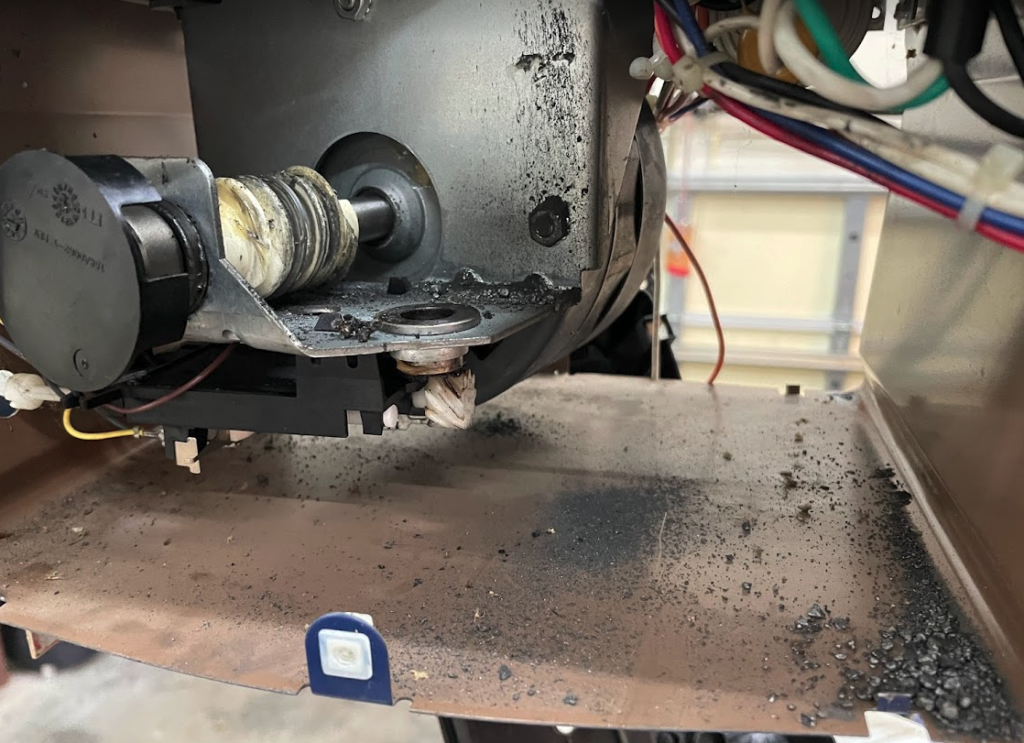
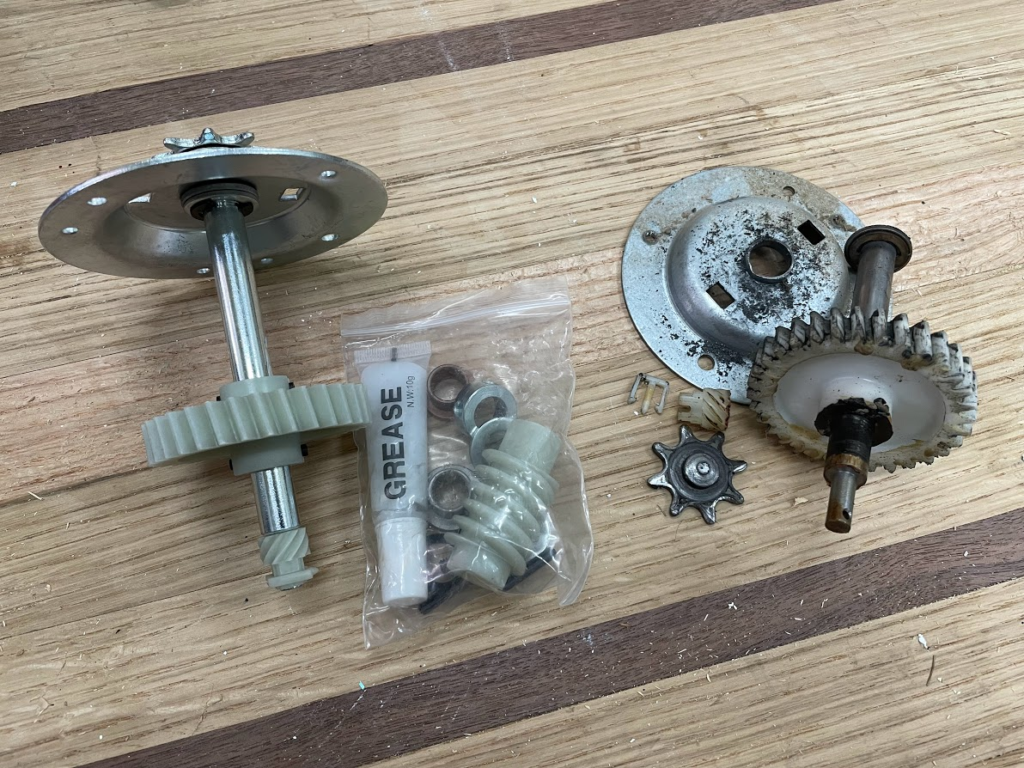
The rest of the repair is pretty easy. Yours should look something like this now:
Basically, you need to remove 3 screws that hold the gear shaft plate to the housing. The screws are accessed from inside the motor – you can pretty easily (but tediously) remove these with a basic wrench.
With these removed, you’ll need to take off the locking pin at the base of the gear shaft in order to remove the bottom worm drive. Lots of mechanic words there – and I honestly don’t even know if I have these terms correct. But here’s a pic – remove this thing by spreading out the clips and pulling it out:
Now remove the worm drive above it (it will likely just fall off with the locking pin removed):
Now you’re ready for the big moment – you should be able to remove the entire assembly from the motor by pushing it up through the hole in the top. There’s a lot of grease and likely a build up of metal and plastic shavings, so you may need to use some force but it should come out with relative ease. the result will look like this:

Now, my opener was original to the house and is over 20 years old. It was filthy – take a minute and wipe yours out if it looks like mine.
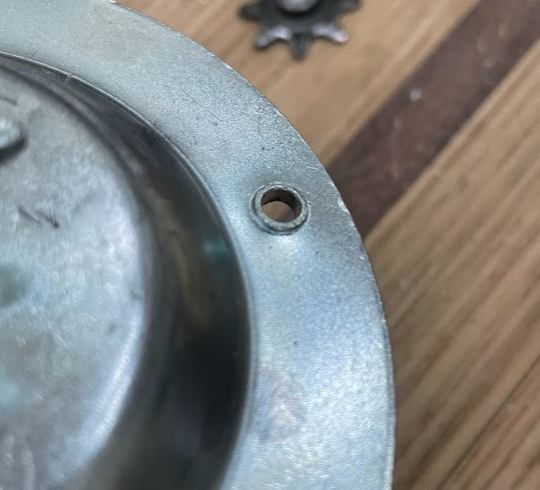
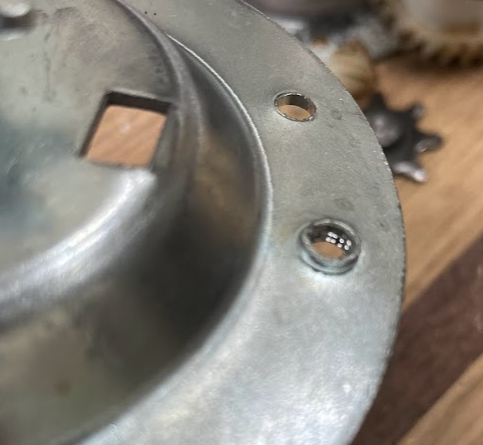
The next step is just to redo what you just undid with the new parts. It’s all very straight forward, and if you got to this step, you’ll breeze through it. One thing that’s fairly important and I had to find out the hard way: the screw holes in the top bracket are not threaded – you will want to turn the screws through them to add threads before you begin installation, or it will be really tricky. You can see what I mean here:
Once you have everything installed and greased up…you’re only halfway there. Just kidding, sort of. For me, the repair was actually the easiest part – it was the syncing of the opener and chain that took a while. During the process of troubleshooting and tinkering, I moved the chain and carriage all over the place. As a result, once I got things all fixed and hooked up, I pressed the button and my garage door just slammed into the ground and reset.
Save yourself some trouble, follow these steps and you’ll be in good shape:
- Plug in your garage door opener.
- With the chain still loose and off the sprocket, press the open button and watch the empty sprocket spin – let it go until it stop naturally. This will put the carriage in the “closed” position near the door.
- It is incredibly helpful to grab one of your car remotes for this step and have it up on the ladder with you so you’re not running back and forth.
- Now, rotate the chain around the track until the chain carriage meets the one near the door.
- Go ahead and join these together – if you pull them inline you’ll hear them lock.
- Now, rethread the chain on the sprocket.
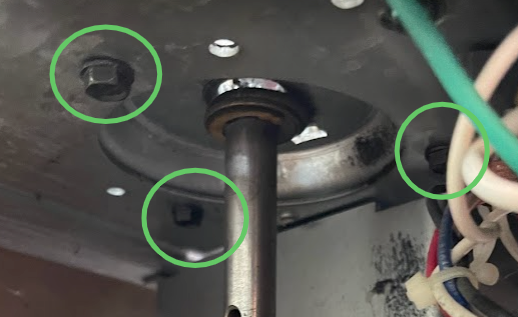
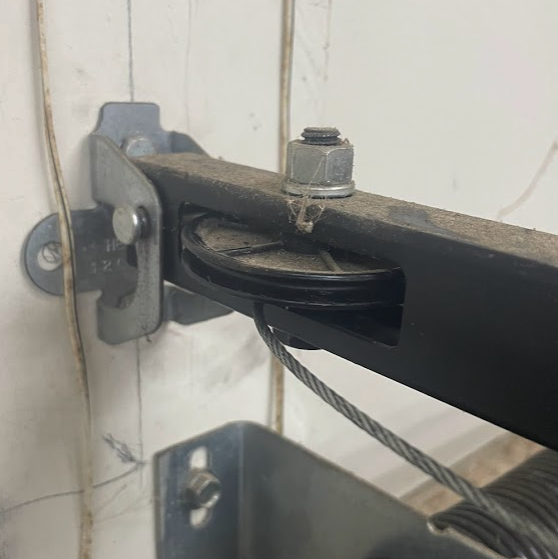
- Make sure your metal cabling is still on the pulley near your garage door (picture below). If it’s not, rethread it.
- Finally, retighten the screw/nut that joins the chain and cable around the track.
Voila! With any luck, you can press the button and your opener will successfully pull the door back to you. If it doesn’t work, just call in an expert like I did: