About a year ago, a friend from church donated an old oak table to Rybo’s Workshop. The table had previously belonged to a seminary professor of his, was gifted to their family and at this point had seen better days. The table wasn’t much to look at, but it was solid wood and well-built, meaning there was a lot of opportunity for re-use.
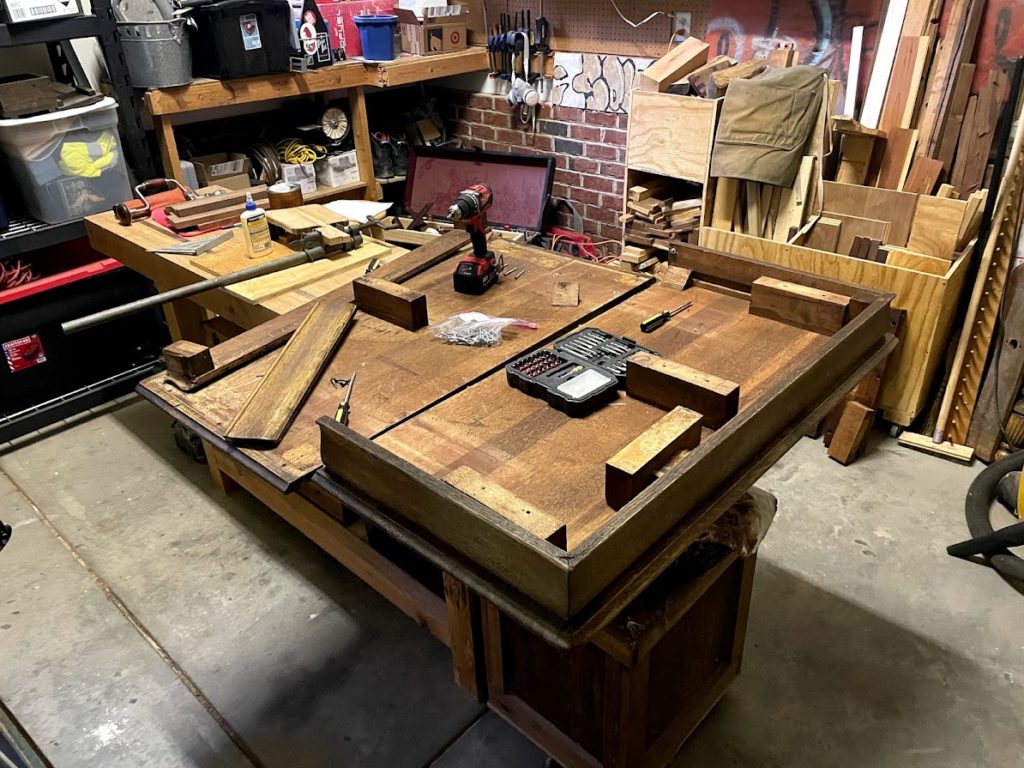
I tore the table down, piece by piece and stored it away in the shop. The first projects I did from the table were a series of frames – one to hang a pocket watch movement print from the early 1900’s in my office and the other as Christmas gifts. I made these entirely out of the thick table apron – that may be a good candidate for a future post.
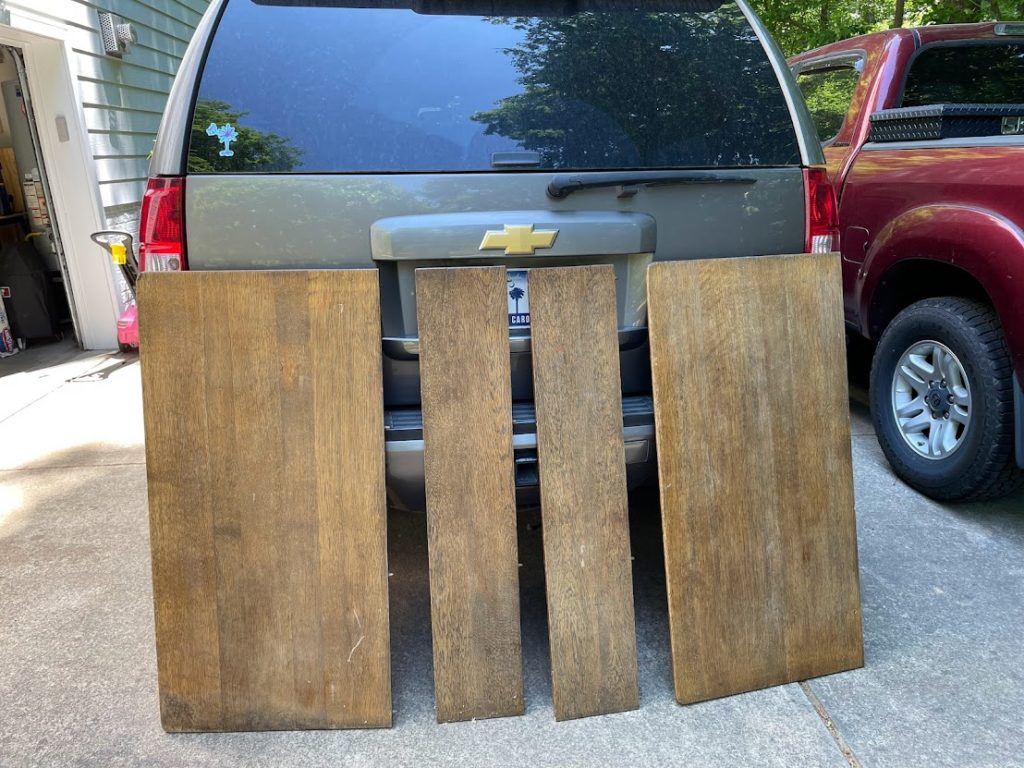
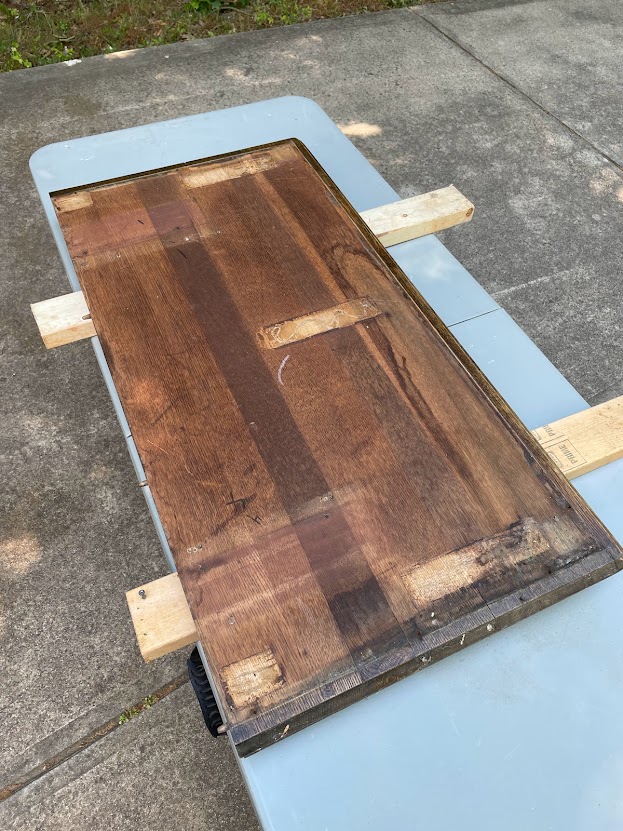
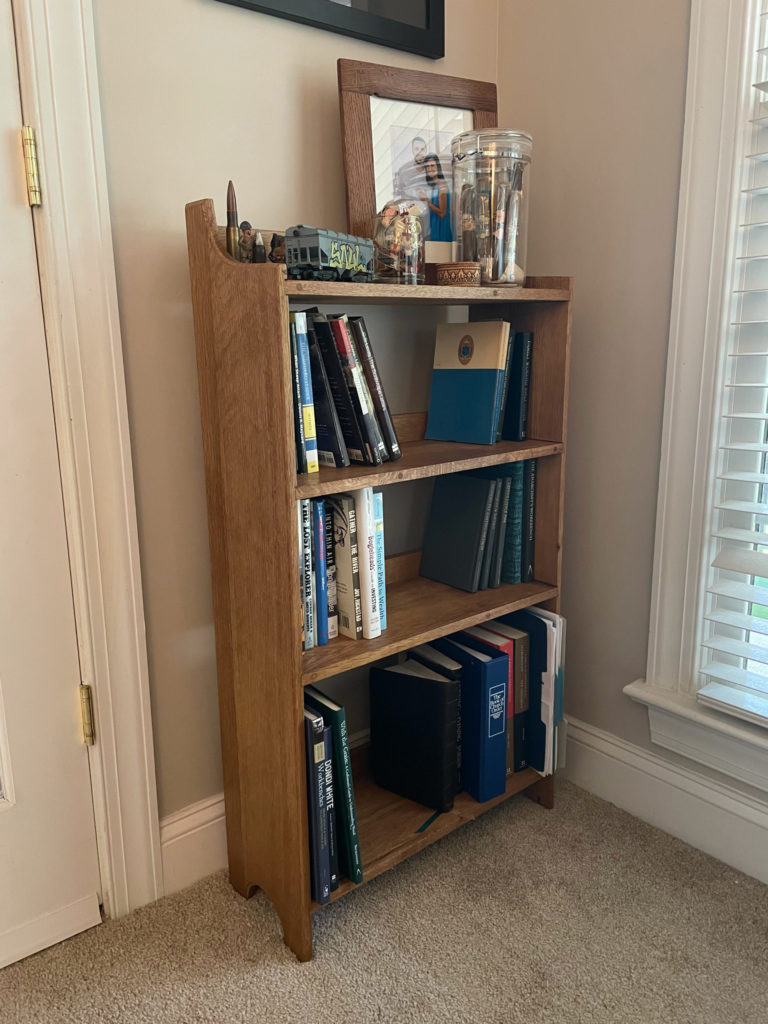
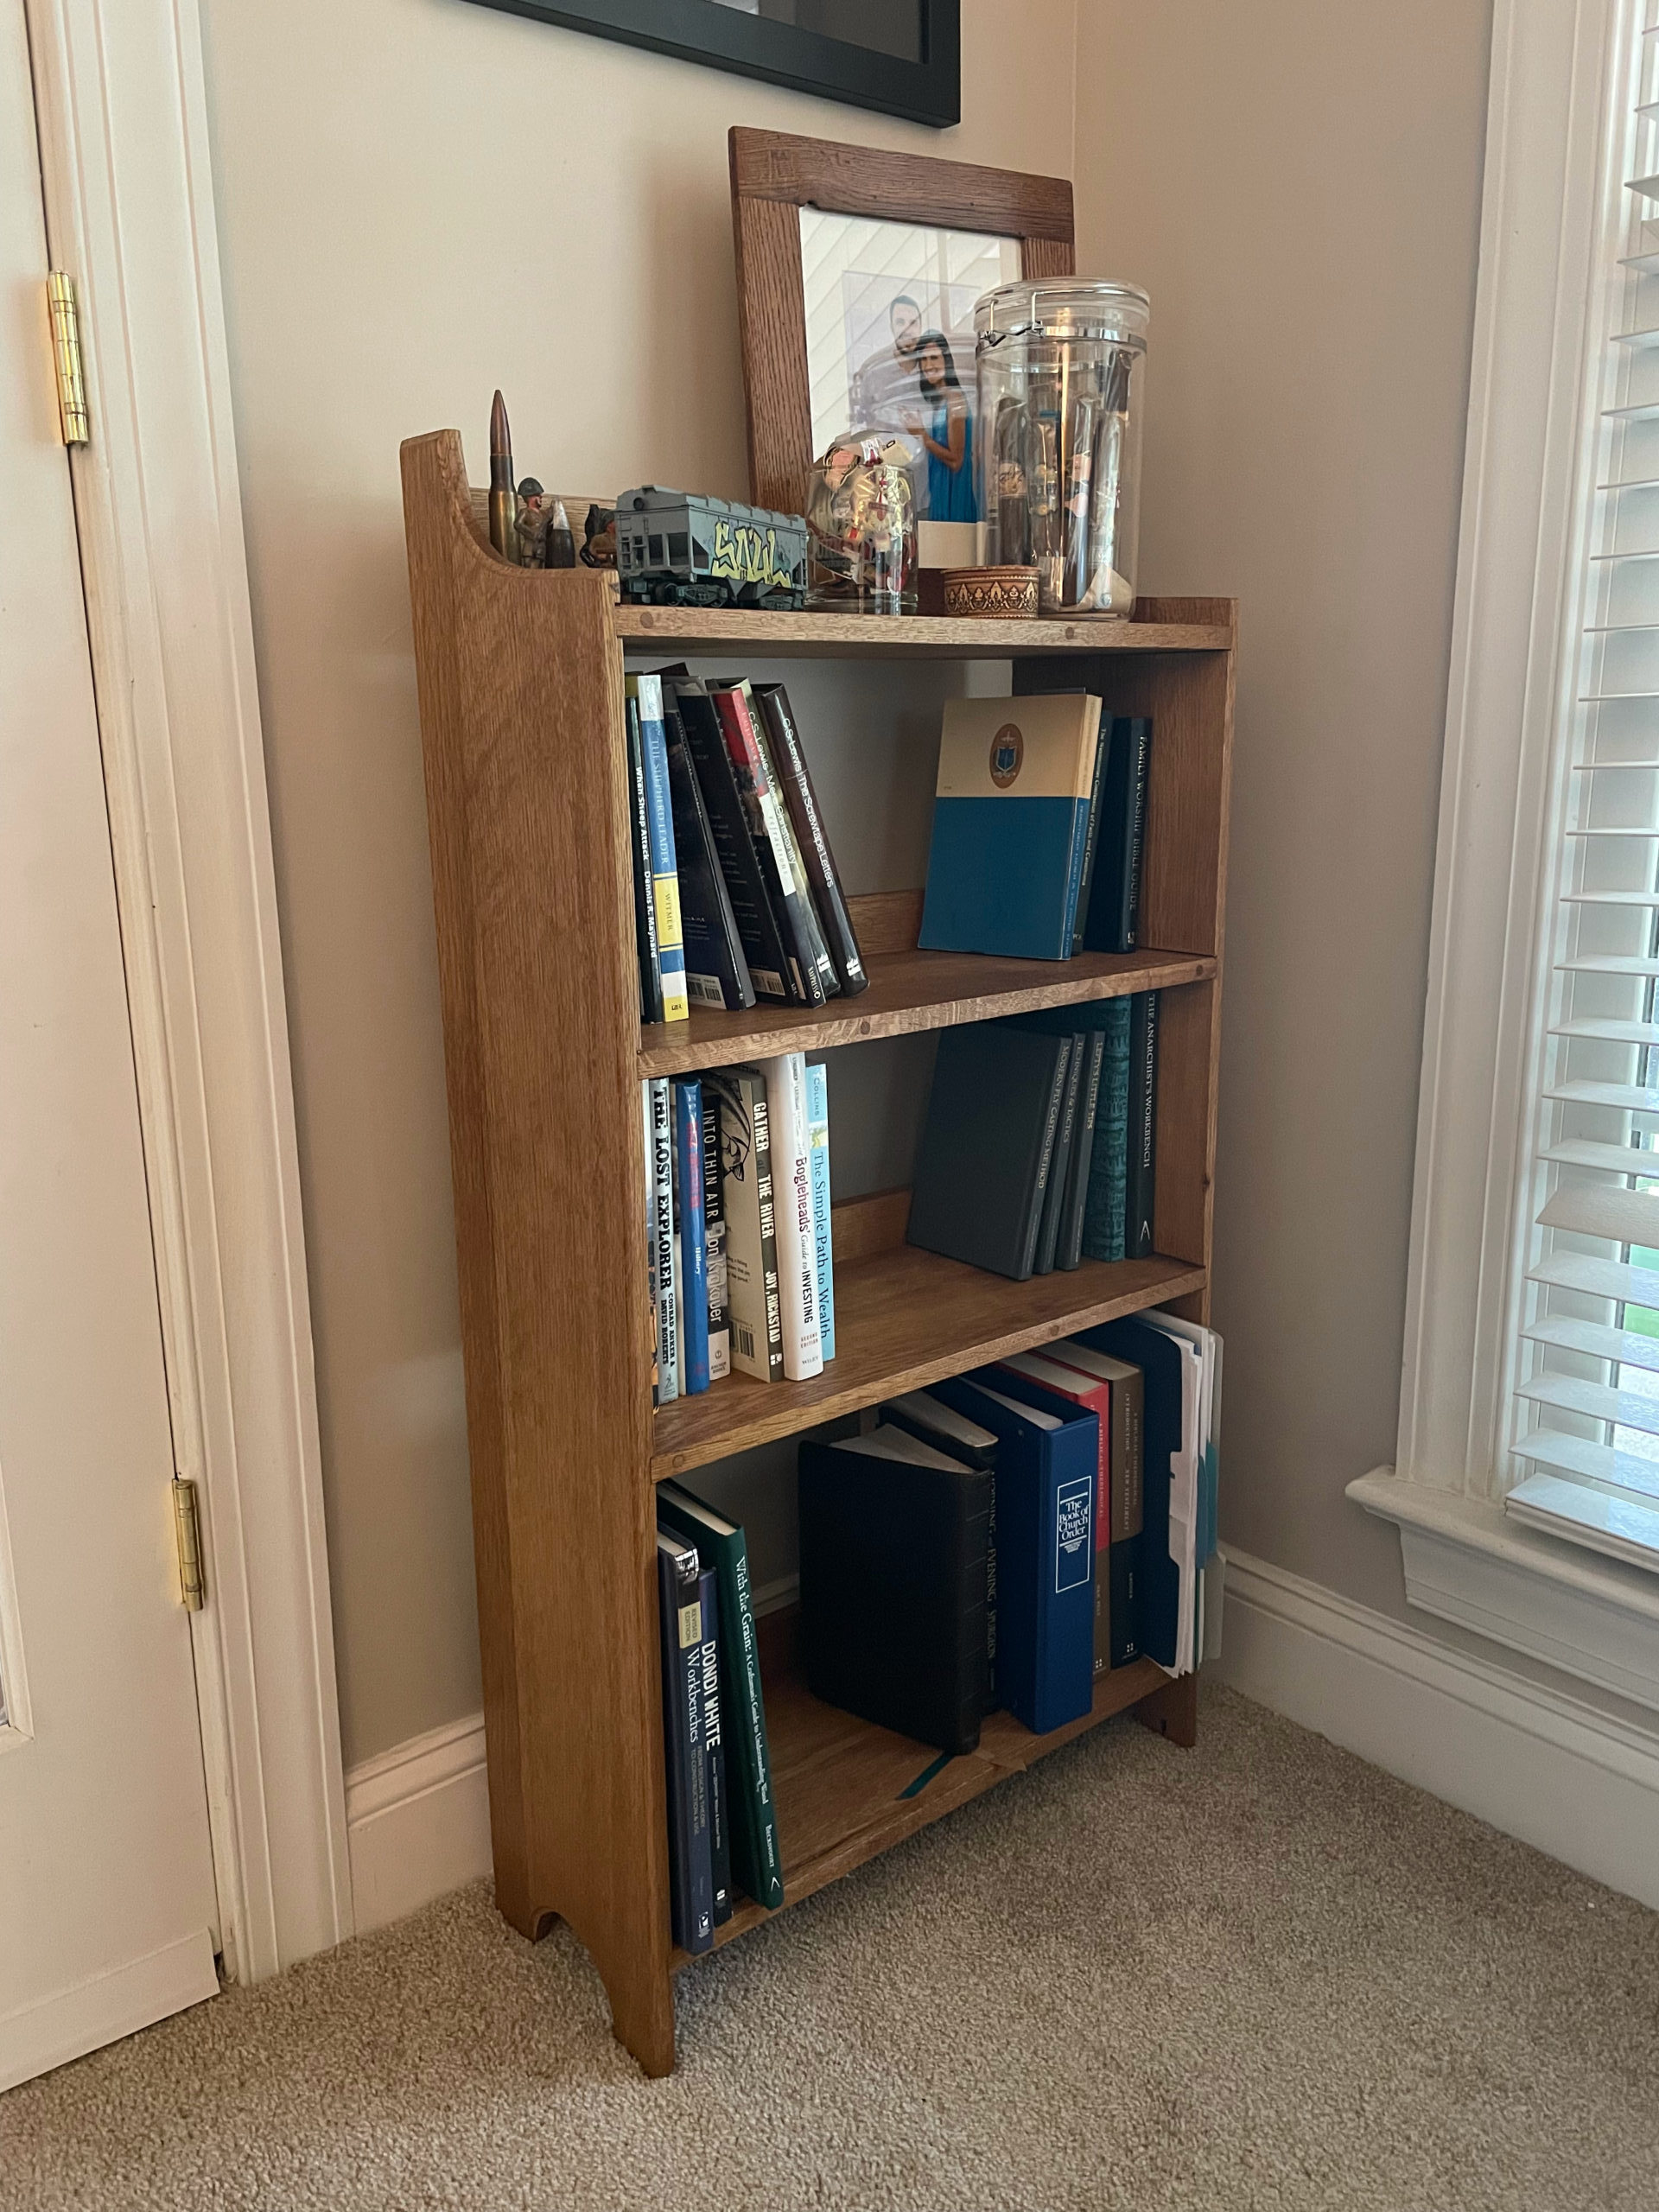
However, I knew I wanted to build an actual piece of furniture out of the bulk of the wood, and over time my need for a small bookcase for my office was clear. So, a bookcase it was. I didn’t want anything too bulky, and I wanted it to be 100% made from this lumber, so I opted for an Arts & Crafts inspired “open” bookcase. I *really* like the open bookcase design, it visually lightens the entire piece and is still super functional.
So, first step…lots and lots of surfacing.
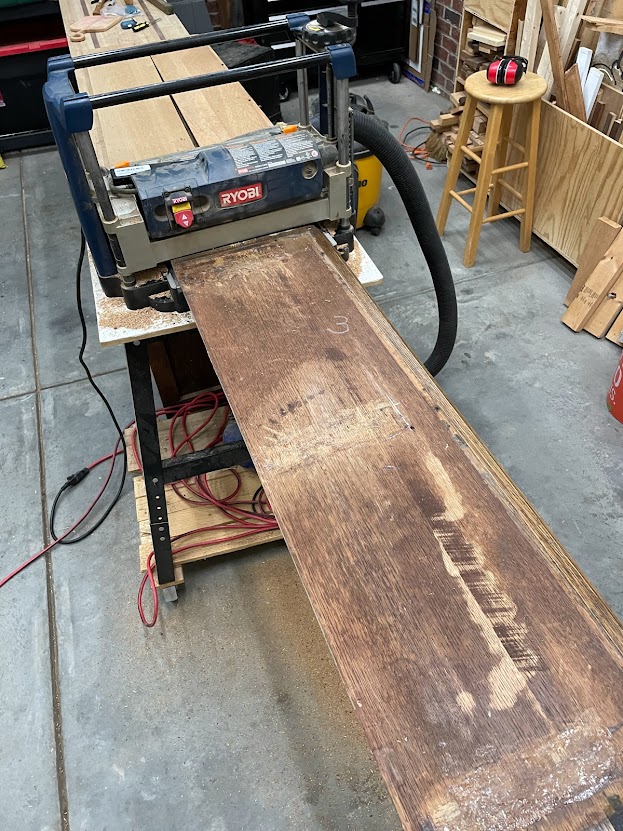
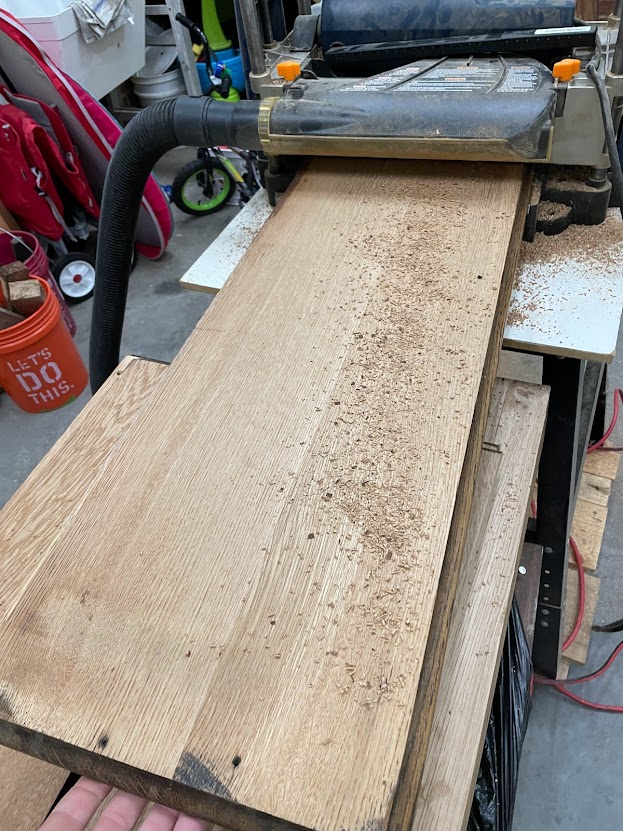
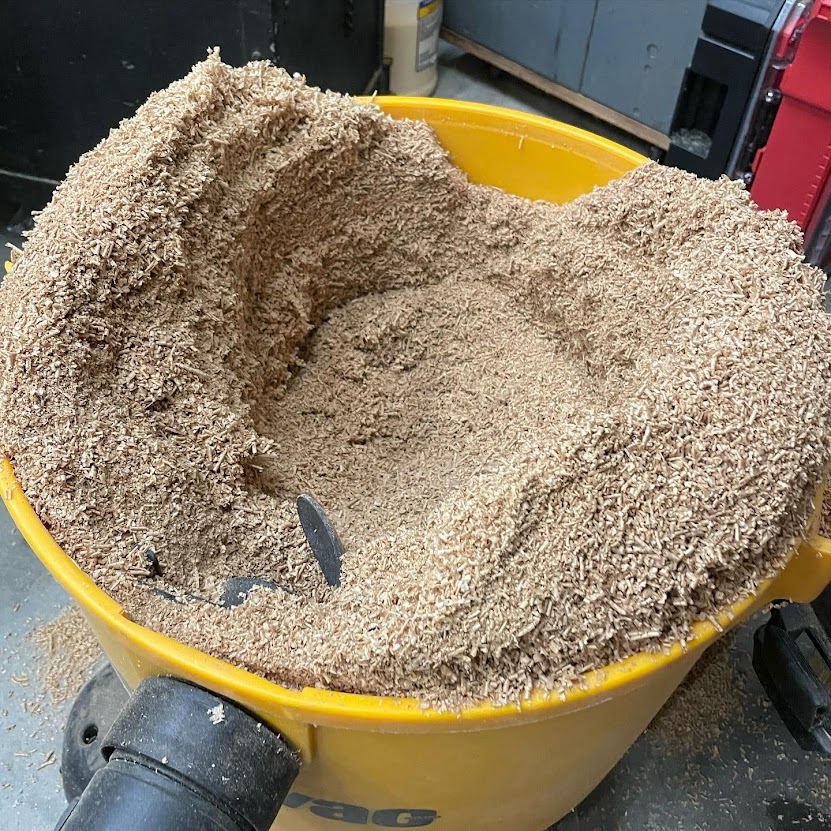
After that, ripping all the stock to rough dimensions. I allowed the lumber on hand to determine the final size and ratio of the bookcase, as I wanted to get the entire thing from this table. So it was maybe a smidge narrower than I would have chose, and a *bit* shorter, although overall I really like how it turned out.
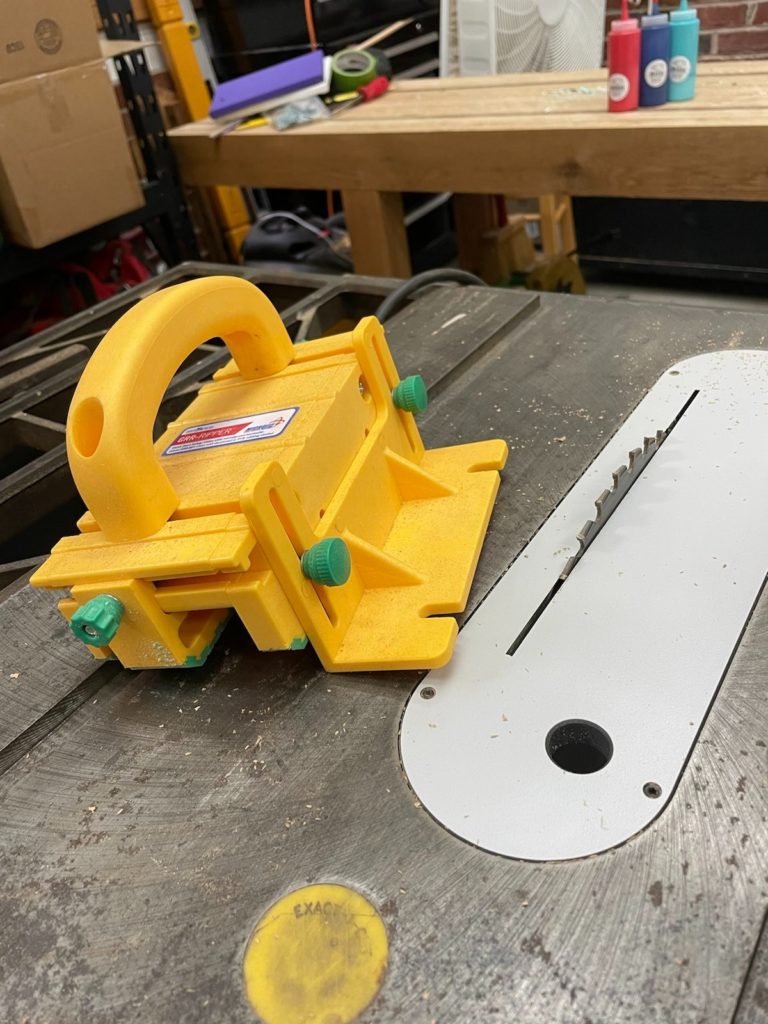
Two small things that made this job a lot easier, and I put these off for too many years. First off, the MICROJIG Grr-ripper – I had an old cheap bush block, but it had lost all grippiness and was almost more of a danger than a help. The Grr-ripper, while expensive, has been well worth the money, even if I don’t feel completely confident with all of its features yet. Secondly, a zero clearance insert. This is something I should have done 8 years ago, and I’ve had several close calls with small off-cuts that should have made this more of a priority.
After ripping to size, I went ahead and cut my curves. I ended up re-cutting the curves on top once more later, but it was helpful to go ahead and knock it out so I could visualize it while I was working on the rest of the joinery. As always in my work, I was highly precise in marking out these curves, preferring this time to use…a quart can of finish to mark out both edge rounds and the bottom semi-circle cut out. I cut the curves on my bandsaw and finished it out with a set of rasps and a lot of elbow grease (and occasional whines of anguish).
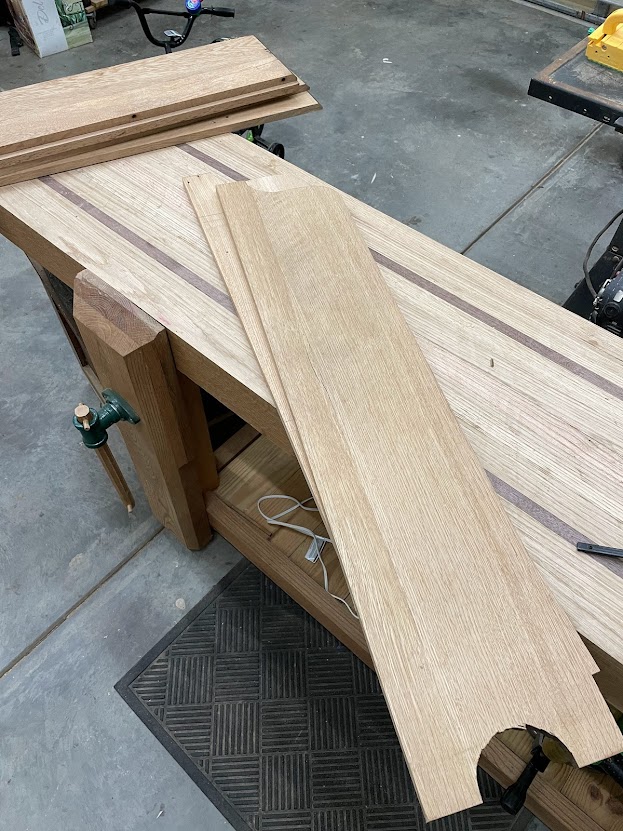
Next up, the dado’s. This was really easy – I laid everything out on the bench and brought out a collection of books. Using these, I was able to come up with 3 shelf heights – the bottom one being the largest and the top 2 being equal in size. After that, I gang-cut them by mirroring the shelf sides on the bench, then running an edge guide and router*. In hindsight, this was the primary mistake made in this project. I should have been far more precise (shocker) here, as I ended up cutting the dado’s a bit too loose for my liking. Nevertheless, all is solid and it worked out just fine.
* The router seen here is the Milwaukee Cordless Impact Router, a very handy yet (in my opinion), fairly flawed tool. I’ll do a review at some point in the future.
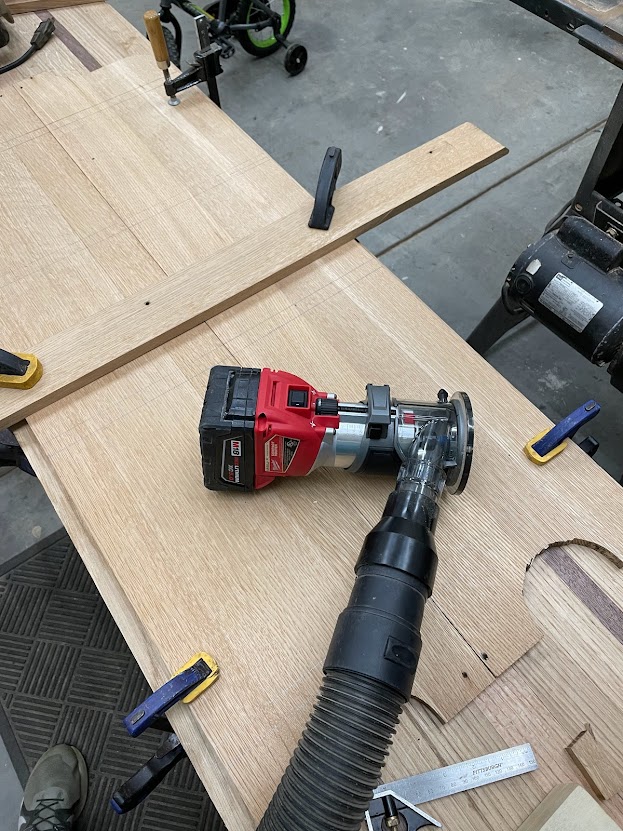
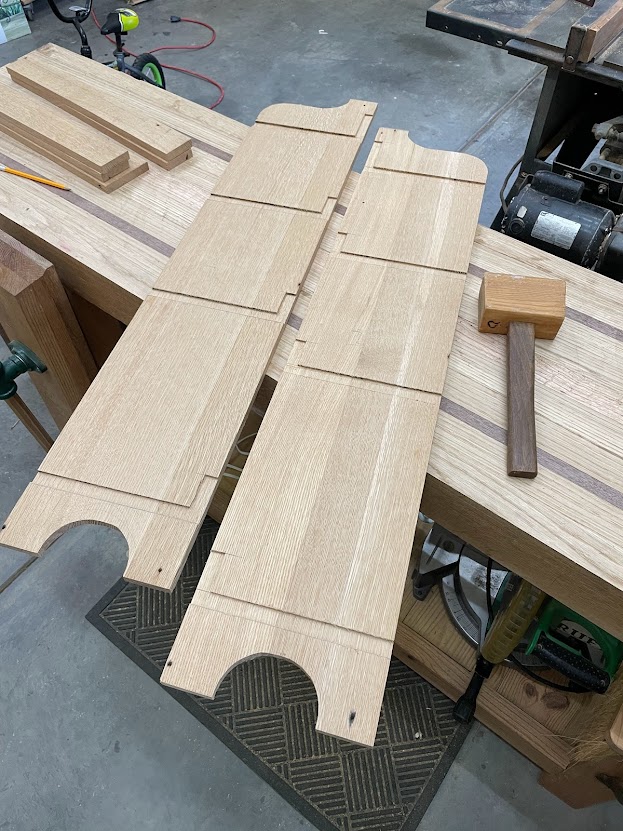
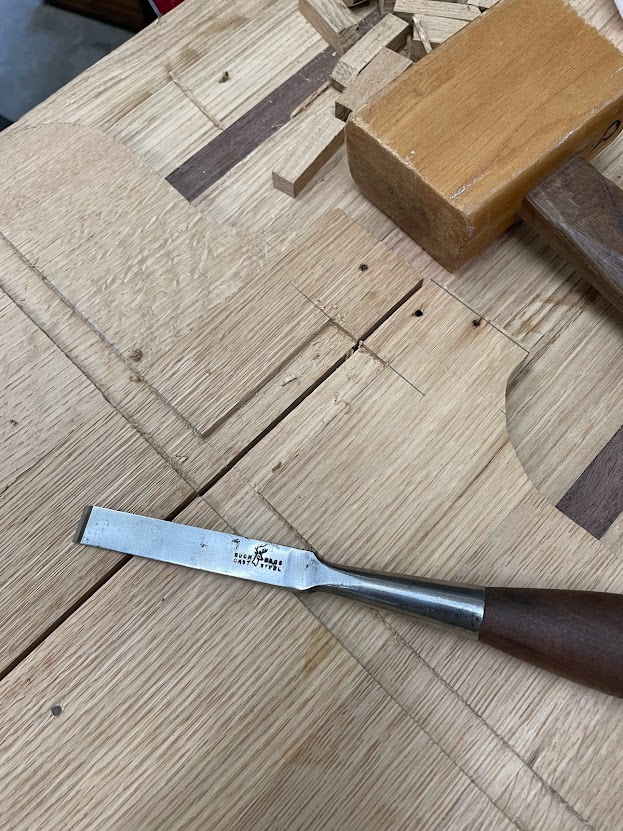
Finally, I was able to do a rough test fit and cut the shelves to final length and width. I did round over the outside edges with a molding bit to give it some character. Then, once glued up, I went through and cleaned up everything with my hand plane. You may notice some dowels on the front of a few of the shelves – these are actually remnants of the original table leaf “pins” that I trimmed off – kind of cool!
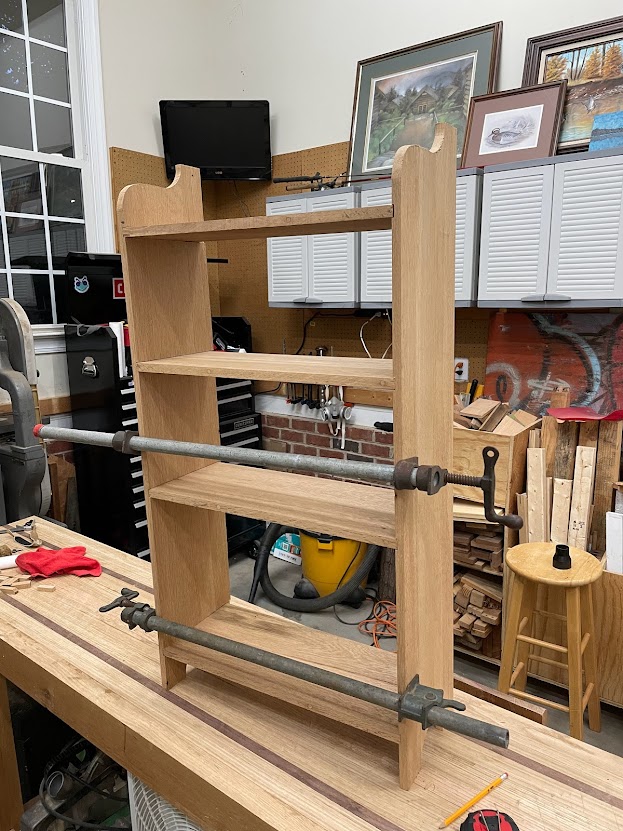
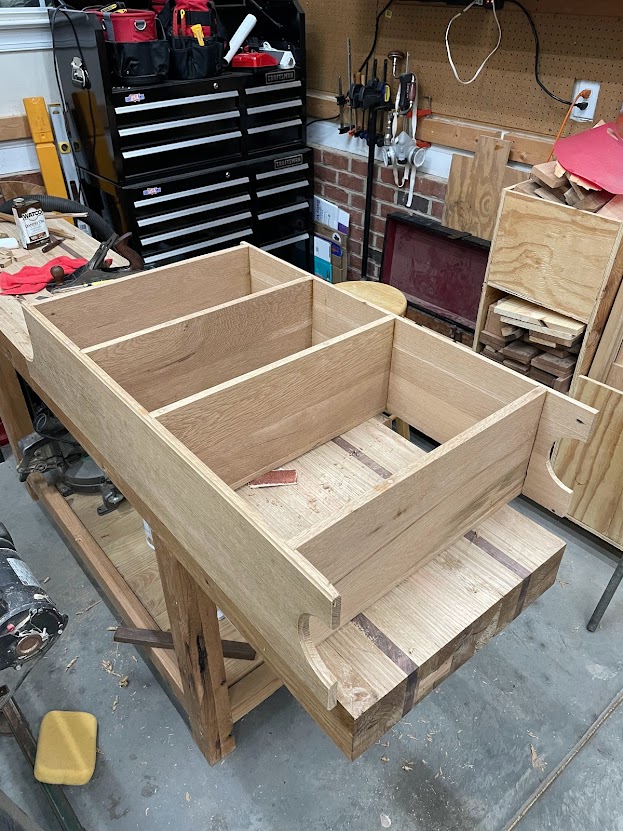
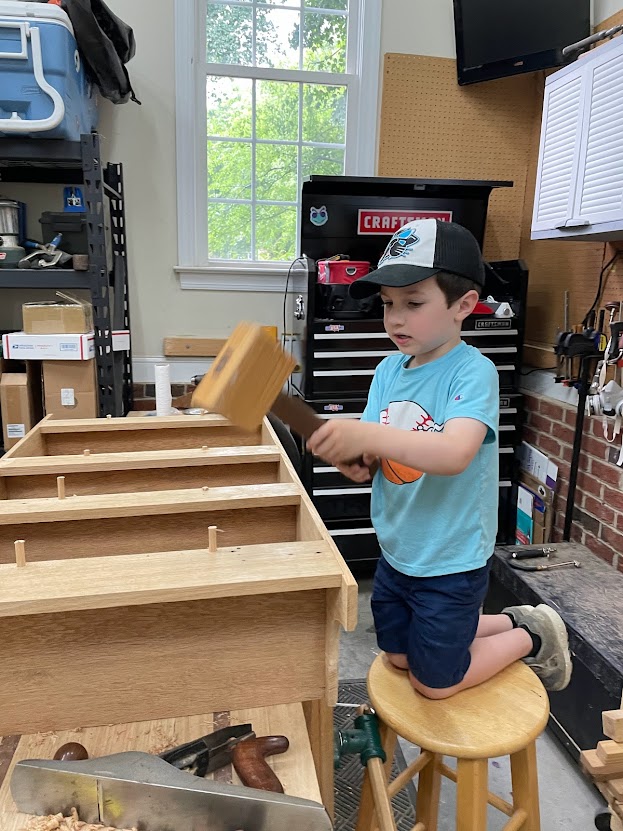
I thought I was complete with the build, but after completion I was a bit embarrassed that my typical “bomb-proof” joinery goal was not achieved here. This is primarily due to the overall design, but there were a few things I could have planned better looking back on it. So, I decided just to be safe I would put some dowels between the back “lips” and the shelves. This won’t solve everything, but I do think it added a decent amount of strength. My son was all too eager to help when it was time to drive the dowels.
Finish is also an area in which I’m woefully deficient. If you catch the theme, I am this way in most areas of woodworking. I always get to the end of a project and rush the finish because I’m ready to put the piece to good use. In this case, I initially planned to stain it dark brown. However, after testing a few Danish Oil tints, I ended up going with a Medium Walnut Danish Oil. I liked the natural look of the wood, and figured it would be easier to start with a lighter color and go darker down the road.
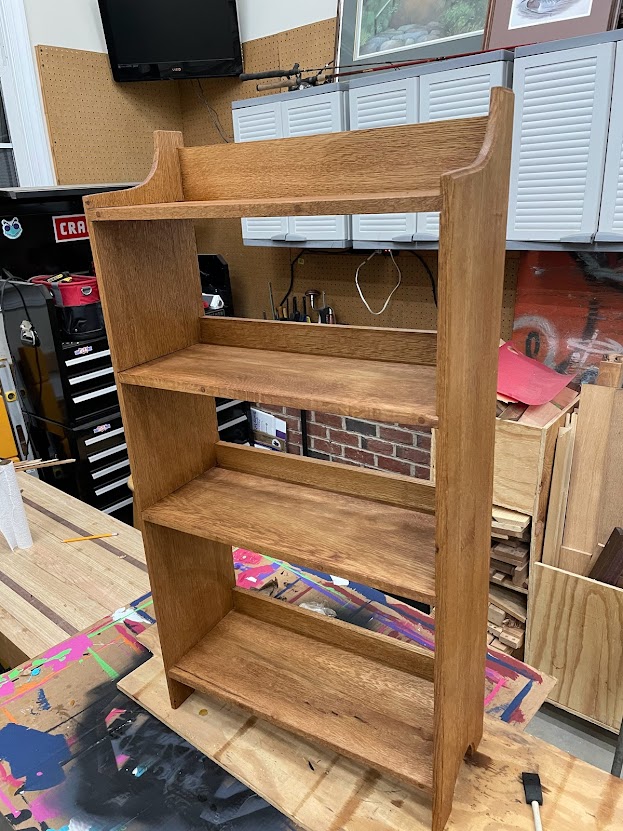
After the Danish Oil, it was several coats of spray-on Poly until I got the right sheen. I mistakenly started with a satin and not semi-gloss as I had planned.
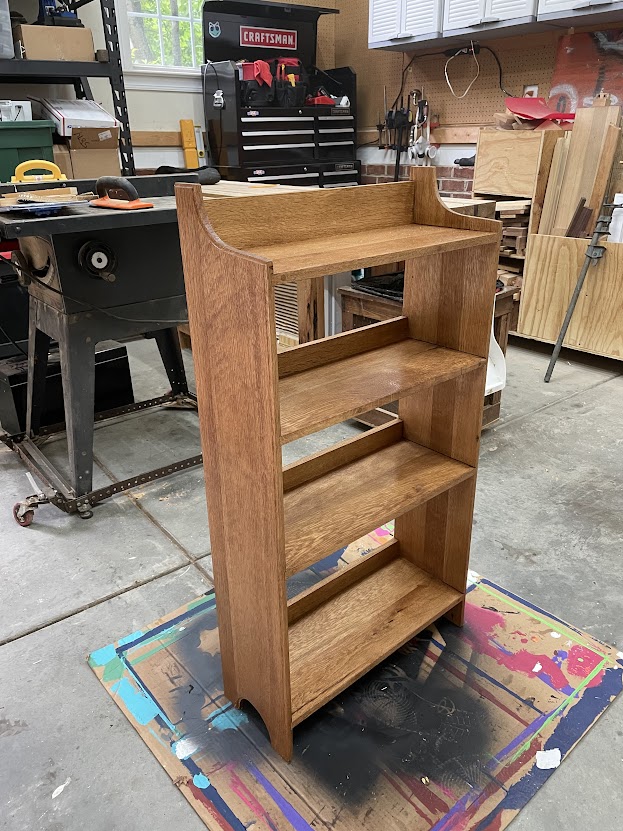
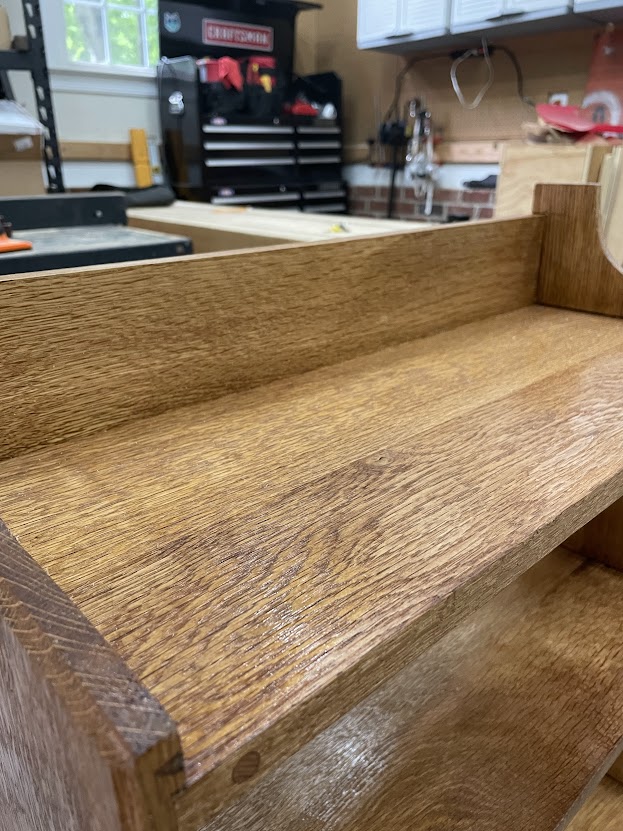
And after a little poly-knock-off with 320 sandpaper and steel wool…I’m calling it complete.
