Unfortunately, we got rained out while trying to camp this past weekend and had to head home early. Fortunately, that meant more workbench progress. My bench is considerably lighter than a full Roubo, but man is it heavy to keep moving the base between the bench top and the floor! Whew, glad that is done. First up, drilling/chiseling out the big mortises.

After a few test fits, all is well and the draw-boring begins. You’ll notice the legs aren’t perfectly flush with the top – each part will need a bit of cleanup after it’s assembled. I want to assemble it, let the wood settle down and then finalize it with the cleanup.

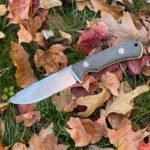
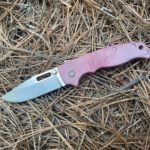
I’ve recently been going through The Fellowship of the Ring for the thousandth time. This rainy day of draw-boring and top assembly called for the audio version and a pipe. Notice the flashlight for seeing through the pin holes and the Kershaw Emerson CQC-5k for tapering down the pins.

Next up, the leg vise – the part I have been waiting for. Lined up the vise and mortised for the parallel guide.

Good fit!

And…everything lines up! You’ll notice a gap at the top – that is perfectly fine. The entire vise will hang about 1/4″ – 1/2″ off the ground, so it should fit snug against the top.

Next up, I finished shaping the leg vise and then clamped it up to the leg where I want it to sit. This gives me a test fit of everything before I attach the parallel guide and so that I can bore the hole in the right spot.


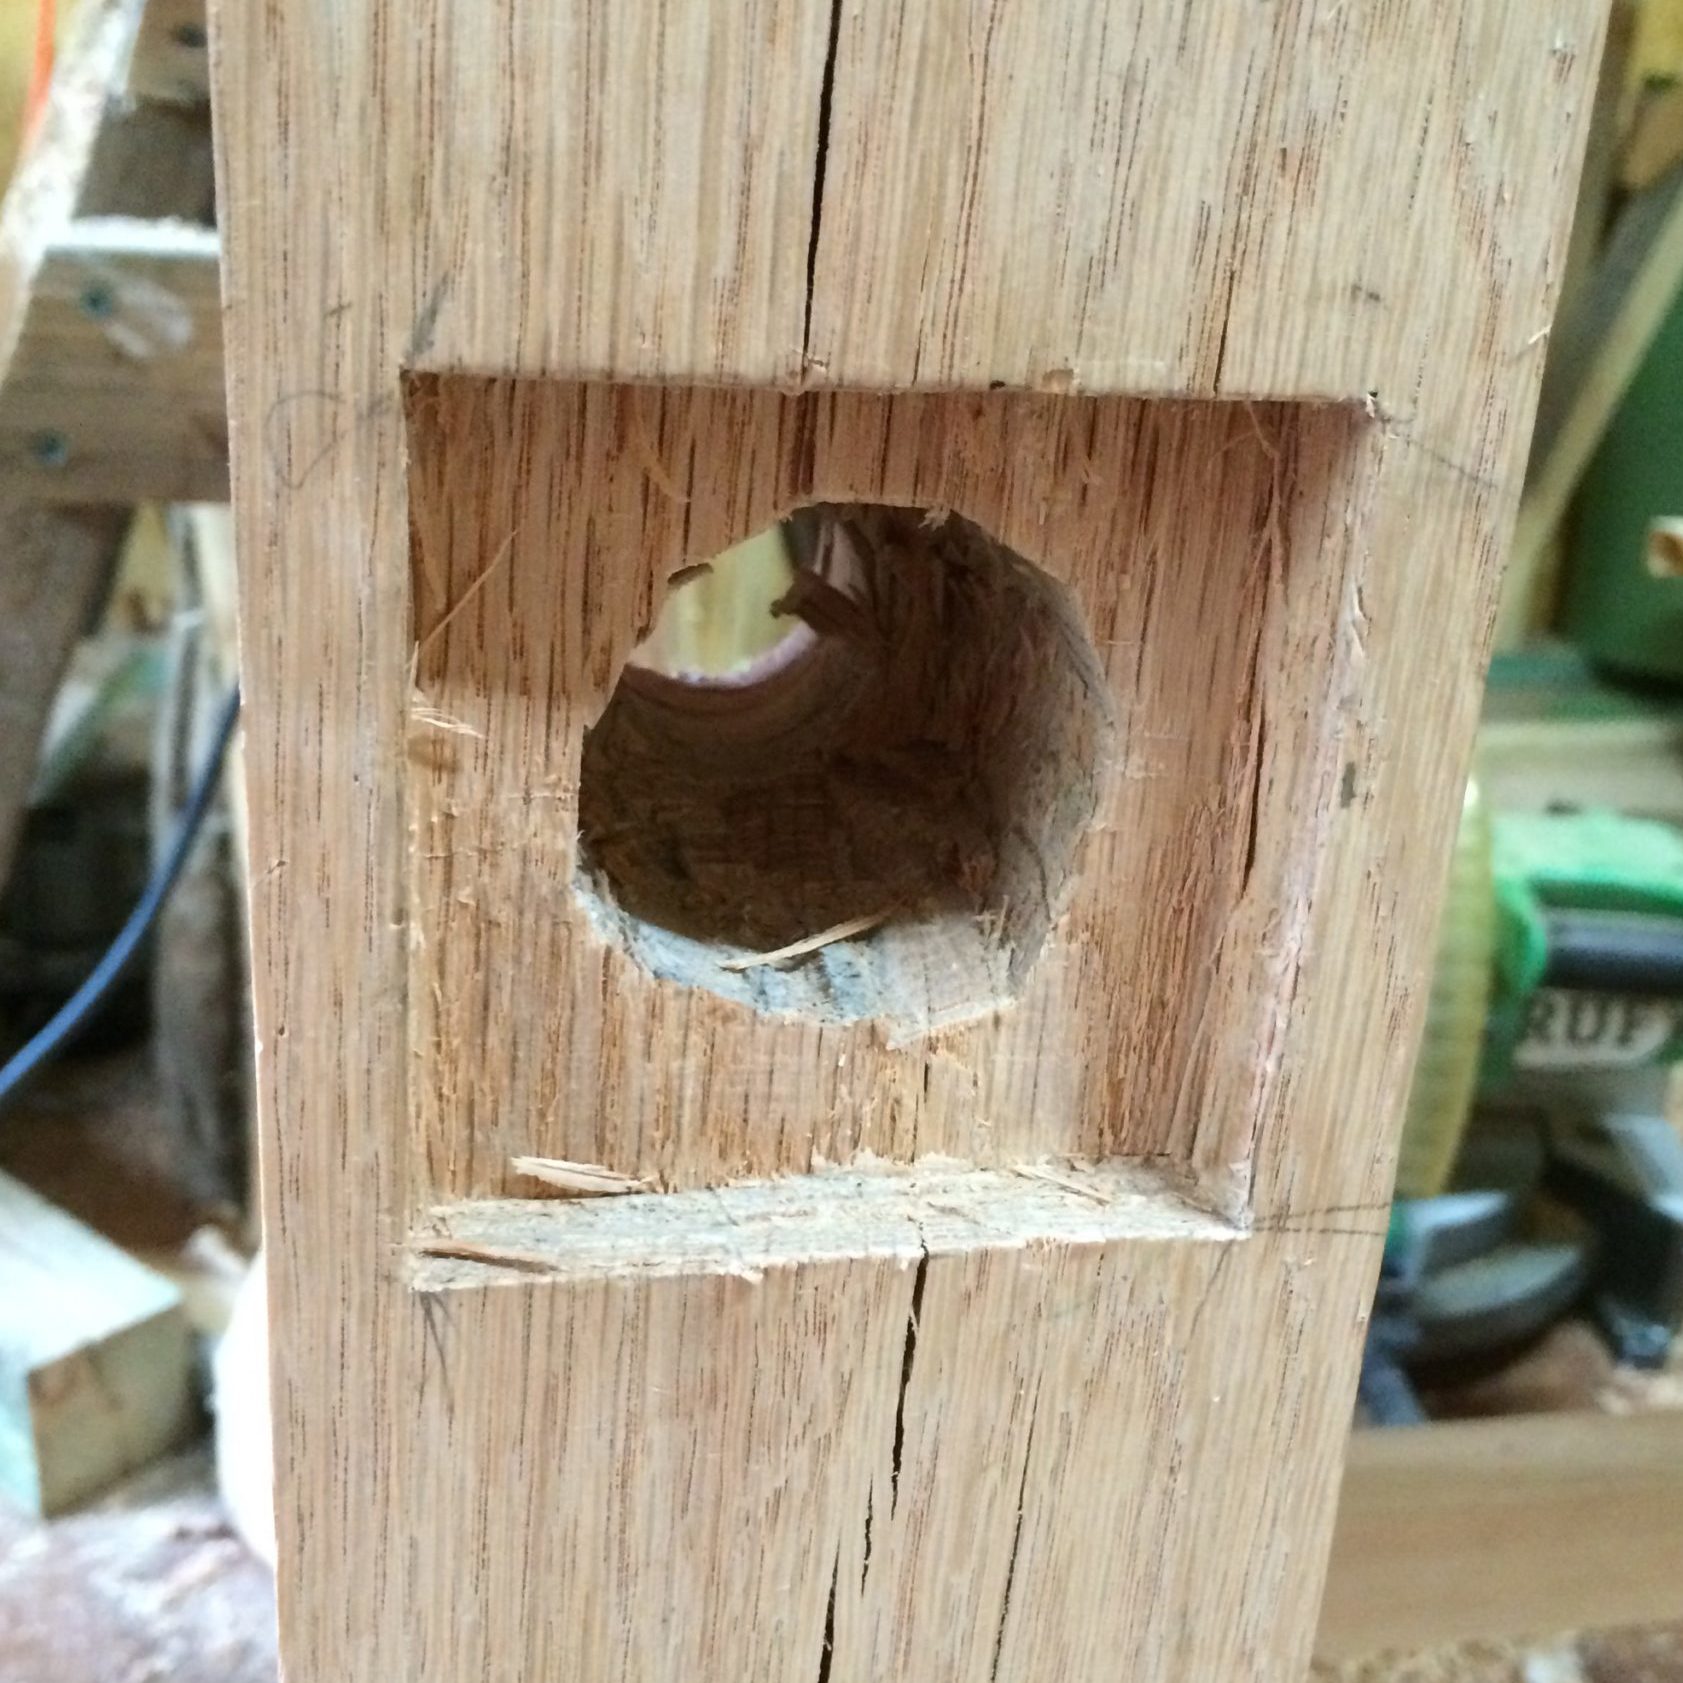
Next up, I wanted to embed the vise screw hardware into the leg. I have seen some put this on the outside of the leg, but I hate the look of that. It was tempting, since it was over an hour of additional work to chisel out the large taper and mortise. Here’s a shot about halfway through as I am tapering with a straight chisel.

Accidental selfie trying to take a pic of the finished work. Loving my Artifact Bags apron!

Finally ready to attach the parallel guide. Did this with a wedged tenon. You’ll notice the blowout on the bottom right – looks bad here but the wedges really filled it out and it’s tough to notice now.

Taking a final look before assembly. You can see the embedded hardware here – love that it is flush mount!

You’ll also notice I added a brand to the front. This is the same thing I use as a bookstamp, but with the Fangorn Workshop logo inside the head instead of ‘rybo’.

Ta-da! Everything is assembled and running smooth. I dropped a few drops of mineral oil on the vise screw and it made a tremendous difference. After opening and closing the jaws a few times, there was a noticeable improvement in the smoothness of the screw.

Overall, I love this thing. Hands down my favorite (and most satisfying) part of the workbench build. It is super strong and I spent a big part of the rest of the day just clamping random things…because I can.

Next up, holdfast holds, flattening the top and I will be done!


1 thought on “Petit Roubo Workbench Build, Part 6: Top attached, leg vise construction”