And…I’m calling it finished. Technically, there are a few more small things to do, but the projects await and the bench needs to prove its usefulness. Once the next two projects are done, I’ll take time to square up the left end of the bench, flatten everything and fine tune the bottom shelf.
After the leg vise, I added a planing stop. The stop is doug fir, about 12″ long. This was probably the most difficult mortise in the bench, and I accidentally blew out some on the underside of the bench while I was chiseling it out.

And of course, I had to enjoy some Wilshire in my handmade pipe. Recently re-buffed with Carnuba.


With a few holes drilled out and the planing stop added, it’s starting to look good.

One of the best secondary uses for me has been to support work when I am crosscutting on my miter saw. I simply raise the stop up and it keeps everything level while I cut.

Quick demonstration of the incredible leg vise. Love this thing. Here I am fine tuning some massive tenons for a bunk bed build.

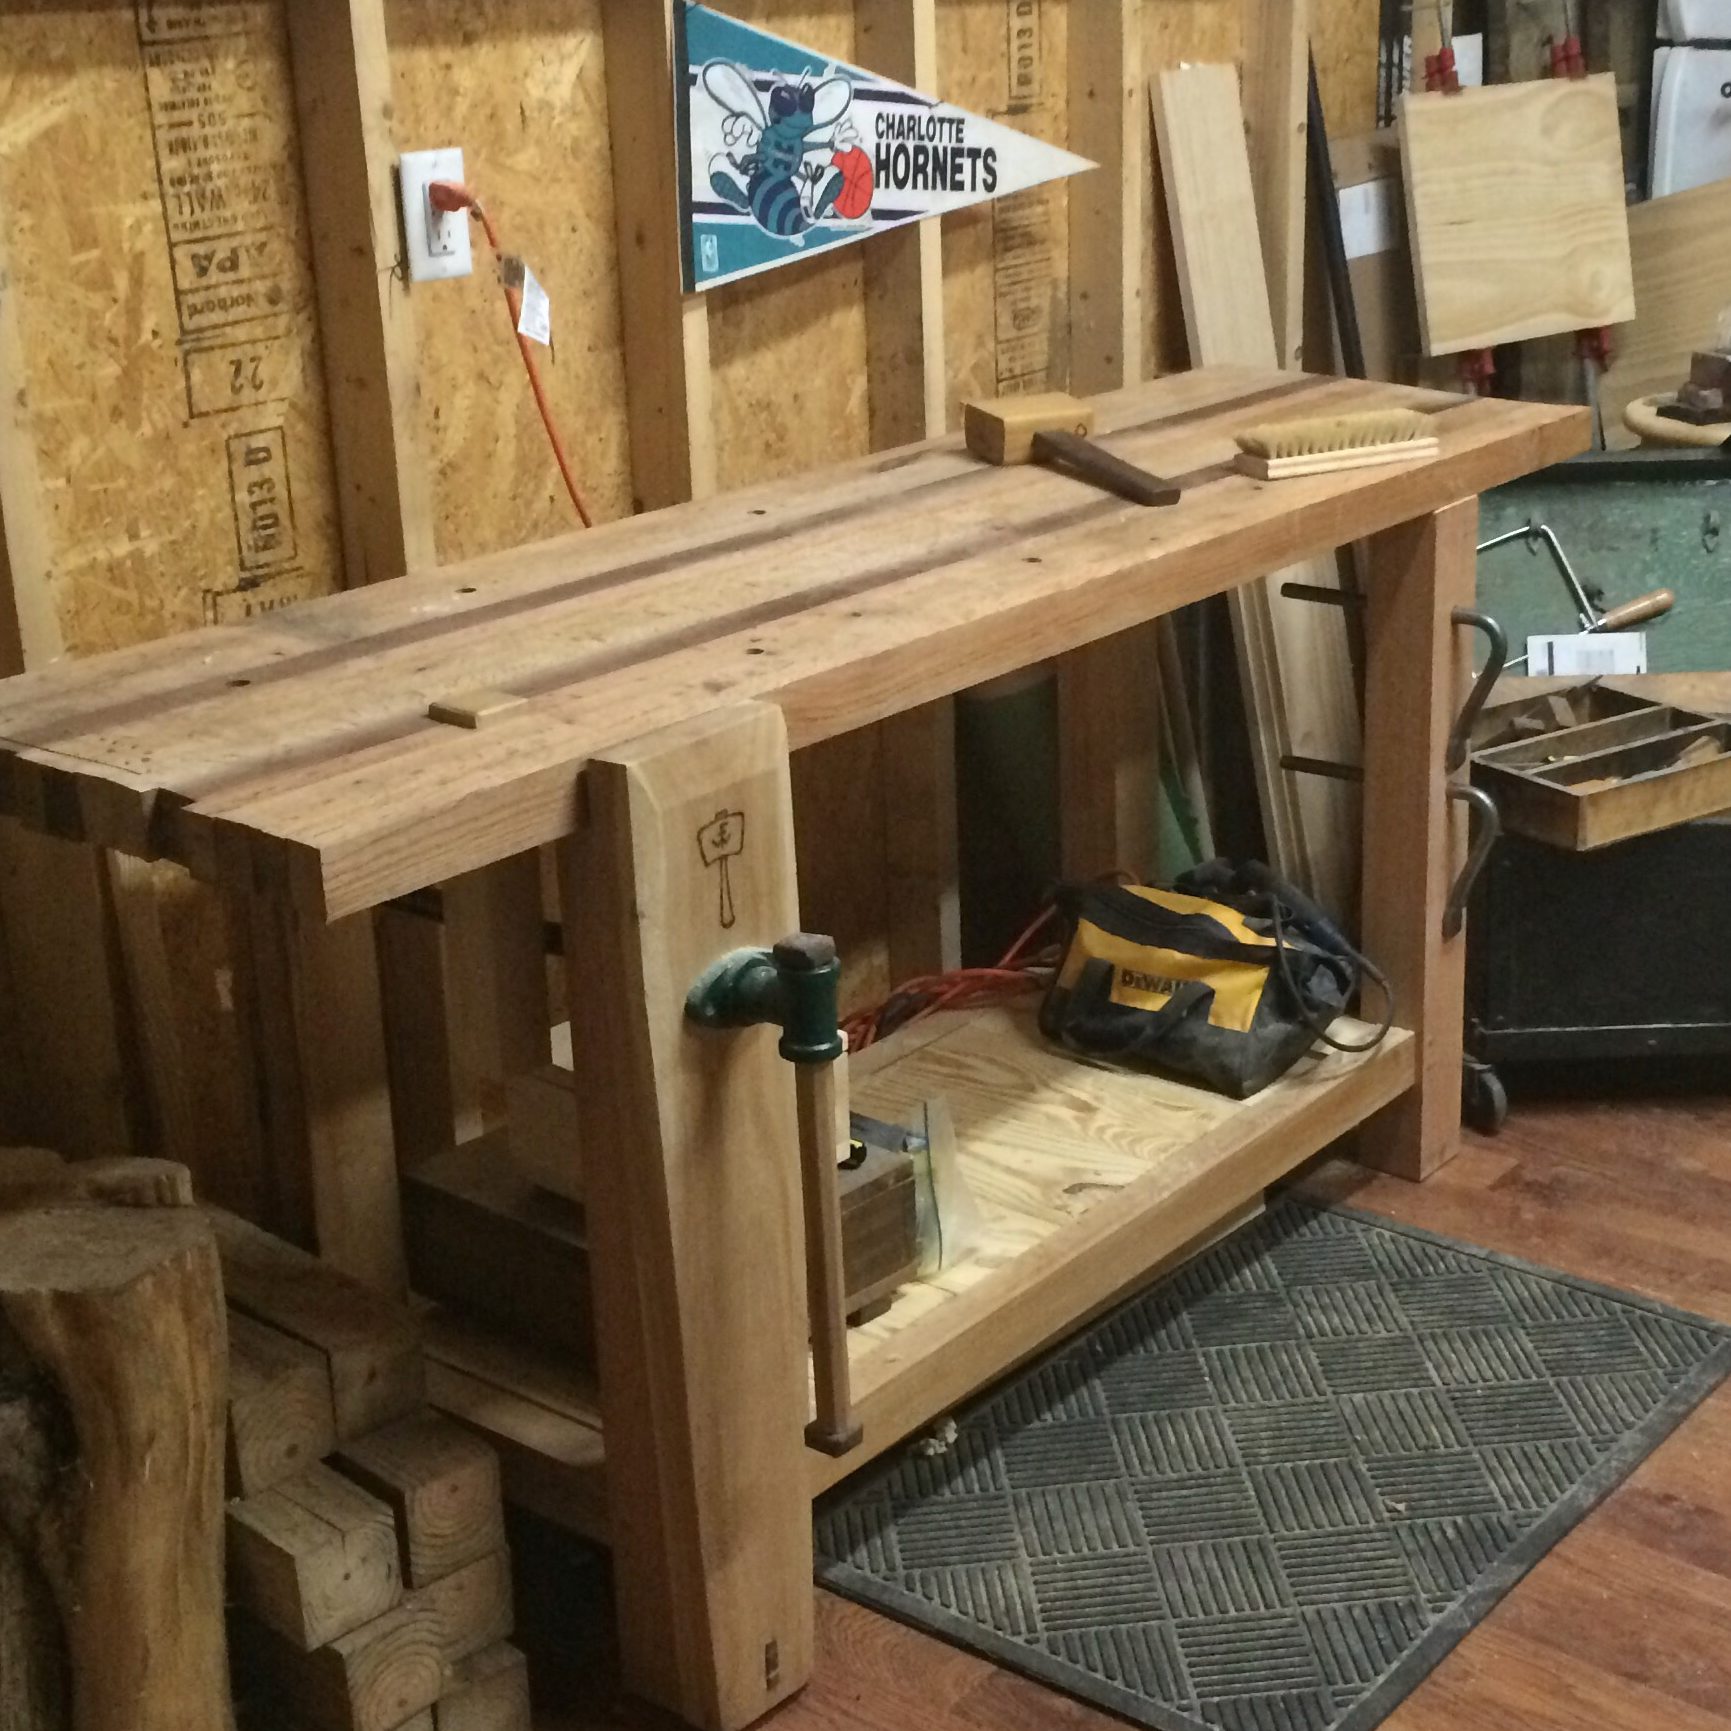
And, ta-da! Had to rehang my Hornets penant closer to the bench, and tried to get my great-grandfathers tool chest in the photo. With beer just within reach in the fridge behind the bench, I think I’m really going to enjoy this setup. I use leftover SYP 2x’s to build the bottom shelf. Each is rabbeted to interlock together.

Titus is happy I’m done. Maybe one day I’ll get him to chill in the shop like this with me.


3 thoughts on “Petit Roubo Workbench Build, Part 7 – FINISHED!”