In going back down memory lane to write these posts, sometimes I am hit by memories or things I had forgotten about. As I geared up to outline the steps taken to joint and surface all of the oak for the bench, the bittersweet memories came rushing in. You see, at the time I did not have a jointer and I was staring at hundreds of pounds of oak that needed methodical (read: slow) work. However, my elder, mentor and dear friend Tom had a nice woodshop and he gladly agreed to not only lend me use of the equipment, but help me with the task.
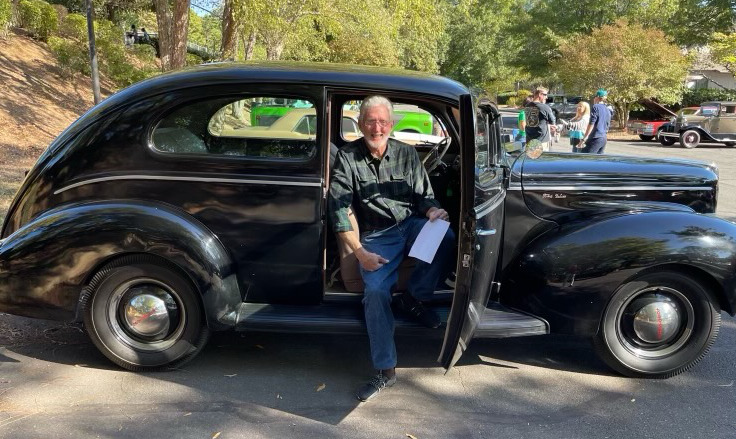
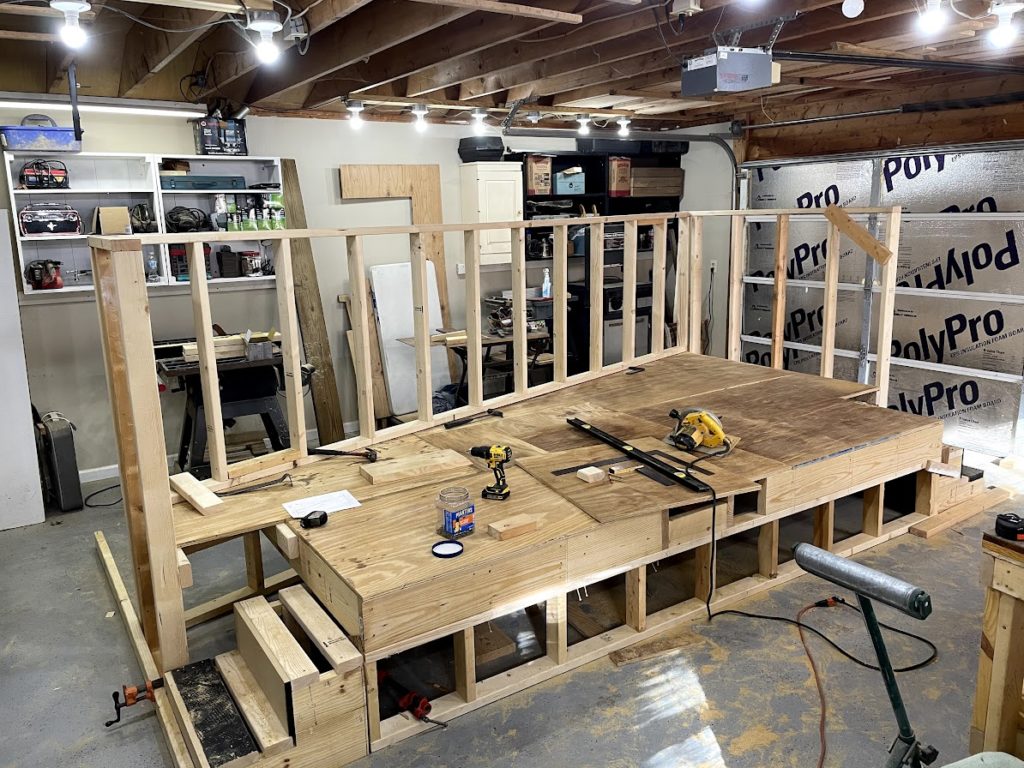
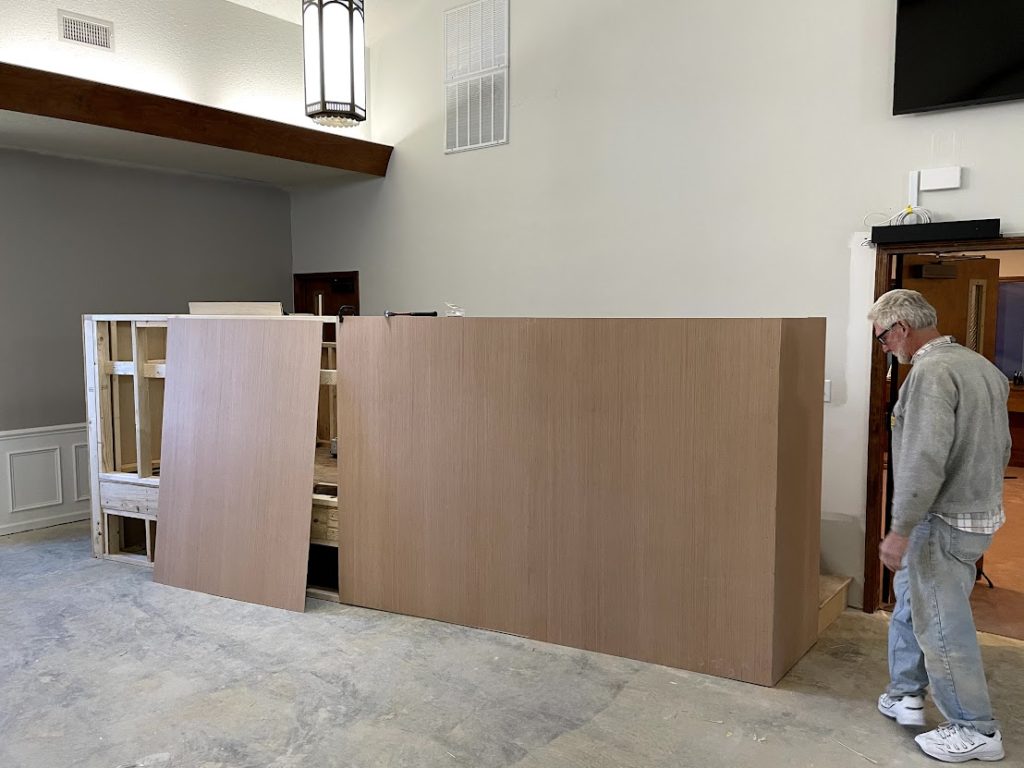
I had not known Tom for very long – maybe a year or two. But in our short relationship, he taught me so many things. We bonded over our enjoyment of building things, and I worked with him on a construction project at our church. I was the bumbling apprentice, he was the architect, project manager, foreman and overall patient tutor. He taught me how to frame, cost efficiency and wisdom of screws vs nails, plywood efficiency, etc. Together, we framed and built an audio booth for our church – built almost totally offsite, and involving a lot of complex angles. A very cool project (involving a trap door) that I won’t go into here, but here are a few pics:

This dear friend passed away tragically only a few months ago, and I’ll never walk past that sound booth or use my bench without thinking of him. He was a wonderful man, loving father and husband and had an unbelievable mind and gift for engineering and construction. Thank you, Tom, for all you taught me and I look forward to seeing you in glory one day.
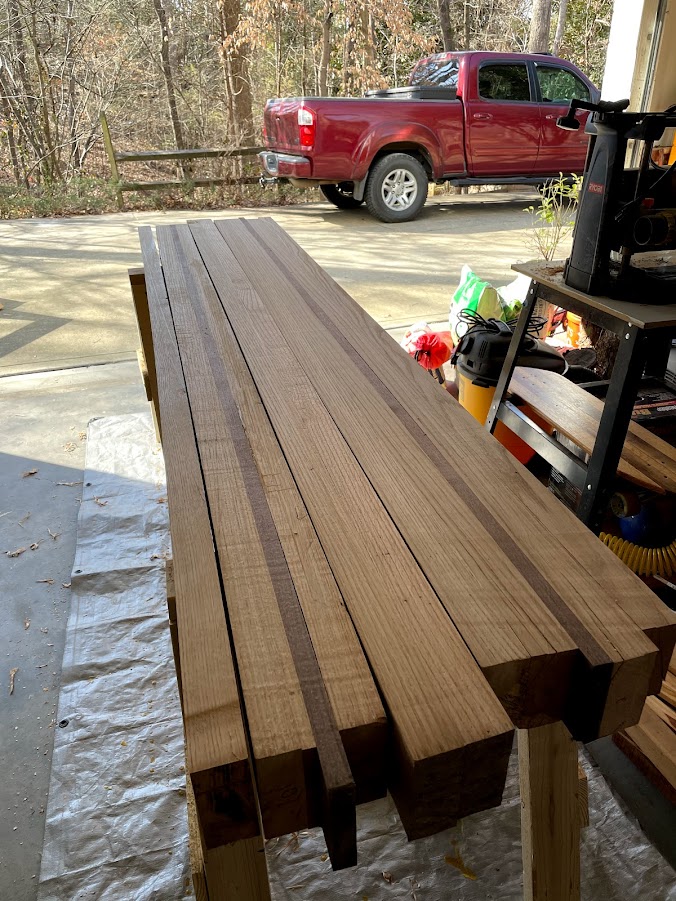
Of all the steps in this build, rough surfacing was the one I was most concerned about. Having built an oak bench in the past, I knew the temptations to shortcut the jointing and surfacing parts, and I had suffered for years after doing this with my first build. Without some of the key power tools to accomplish this years ago, I had opted to just glue everything together and figure it out later, which…did not end well.
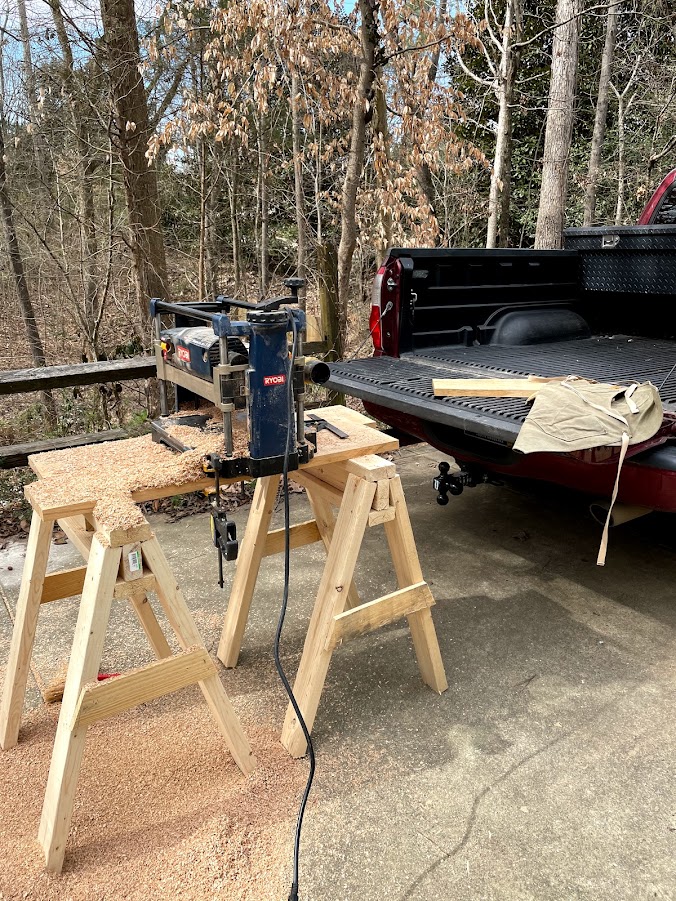
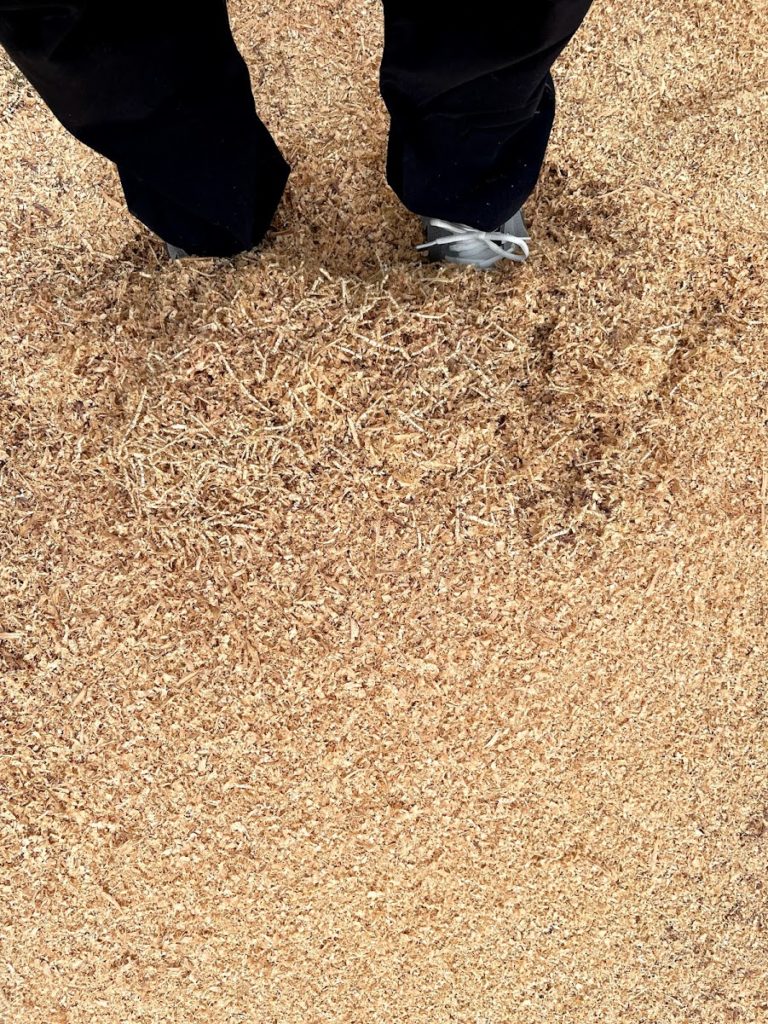
However, this time was different – thanks to Tom and his jointer. After jointing 2 surfaces on every board, it was time to hit the planer. While this work was tedious and pretty physical, I really enjoyed it. My gracious wife was kind enough to give me precious Saturday hours to knock it out without the kids running around, and I threw on some podcasts and got to work with my old trusty Ryobi planer.
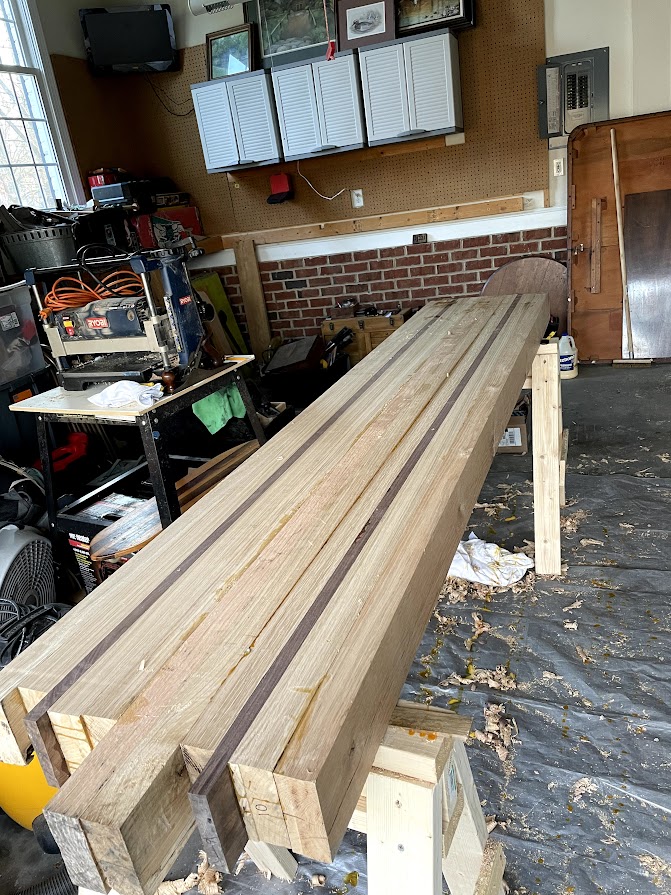
This was the part of the project where I started to get really excited. After using an uneven bench for years, seeing a flat top emerge was a true joy. The next challenge would be the sectional glue up. You can see some planing snipe on the tails…a result of fatigue on my part.
I decided to handle the top glue-up in sections of 2-3 boards at a time. I have probably 10 old pipe clamps, which I think is probably the minimum for a project like this. The right number of clamps is always one or two more than are currently on hand. The picture above shows a few of these sections glued up and awaiting the final joining.
The old saying is true – everybody loses at least 10 IQ points when that yellow glue hits the board surface. I’m convinced the garage itself can sense what’s happening and does everything it can to interfere. I will practice a big glue up a few times before even thinking about grabbing the Titebond and it never fails that when I actually start the process, problems that have never before graced humankind will rear their despicable heads.
Despite all of that, I was able to complete all the sections and eventually got the entire top solidified as one big hunk of lumber. You can probably see that the middle section (the middle board is red oak) is a bit taller than the others. I cannot be held legally responsible for what happened when the glue was wet, as we all know.
Next up, more exhausting fun – hand surfacing the bench top and bottom. The road goes on forever but the party never ends!